Following PowerShell Module provides basic functionality of Searching All (almost all?) DNSBL (DNS BlackLists) and at the same time provides an easy way to setup daily reporting to keep you informed about your IPs status.
💡 Note worthy features
- 💬 Easily query over 80 DNSBL (DNS Blacklist) in one go
- 💬 Setup Task Scheduler with hourly, daily, weekly, monthly reporting
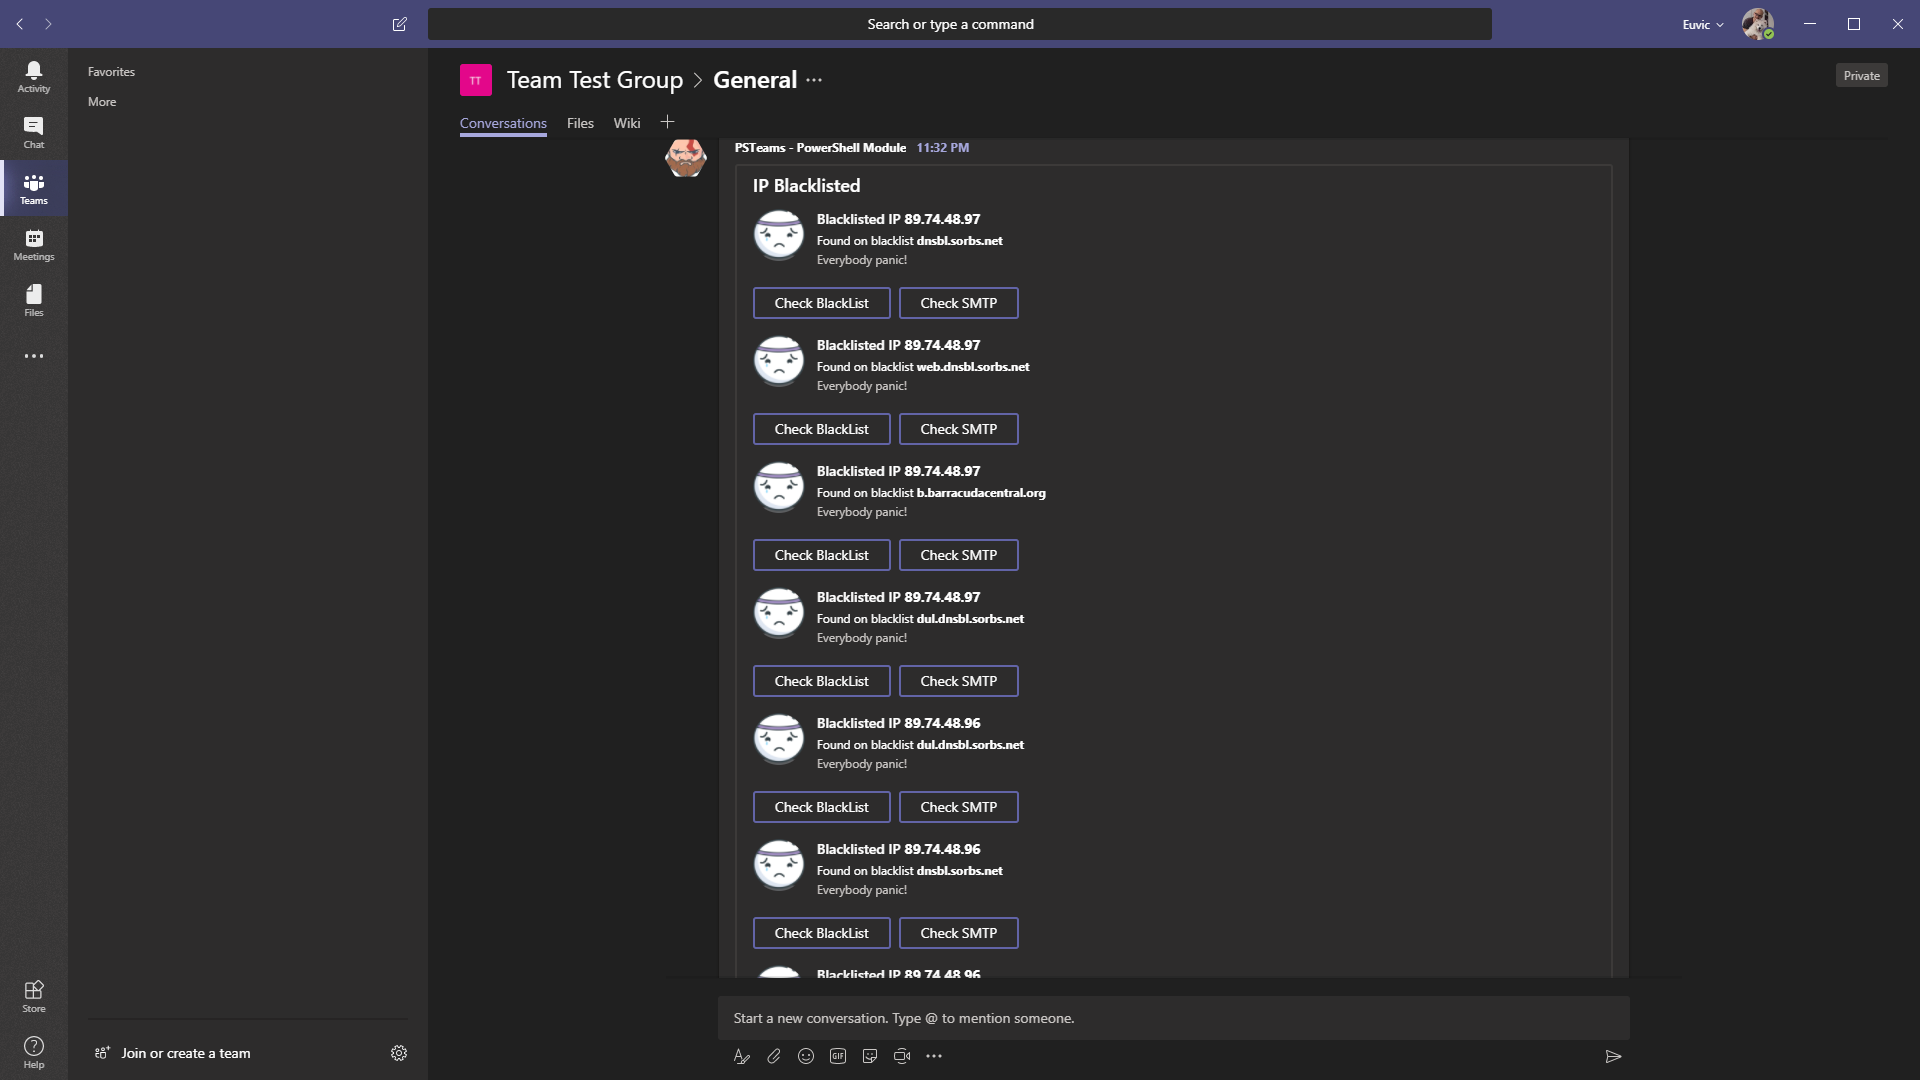
- 💬 Send notification to Microsoft Teams if IP is blacklisted
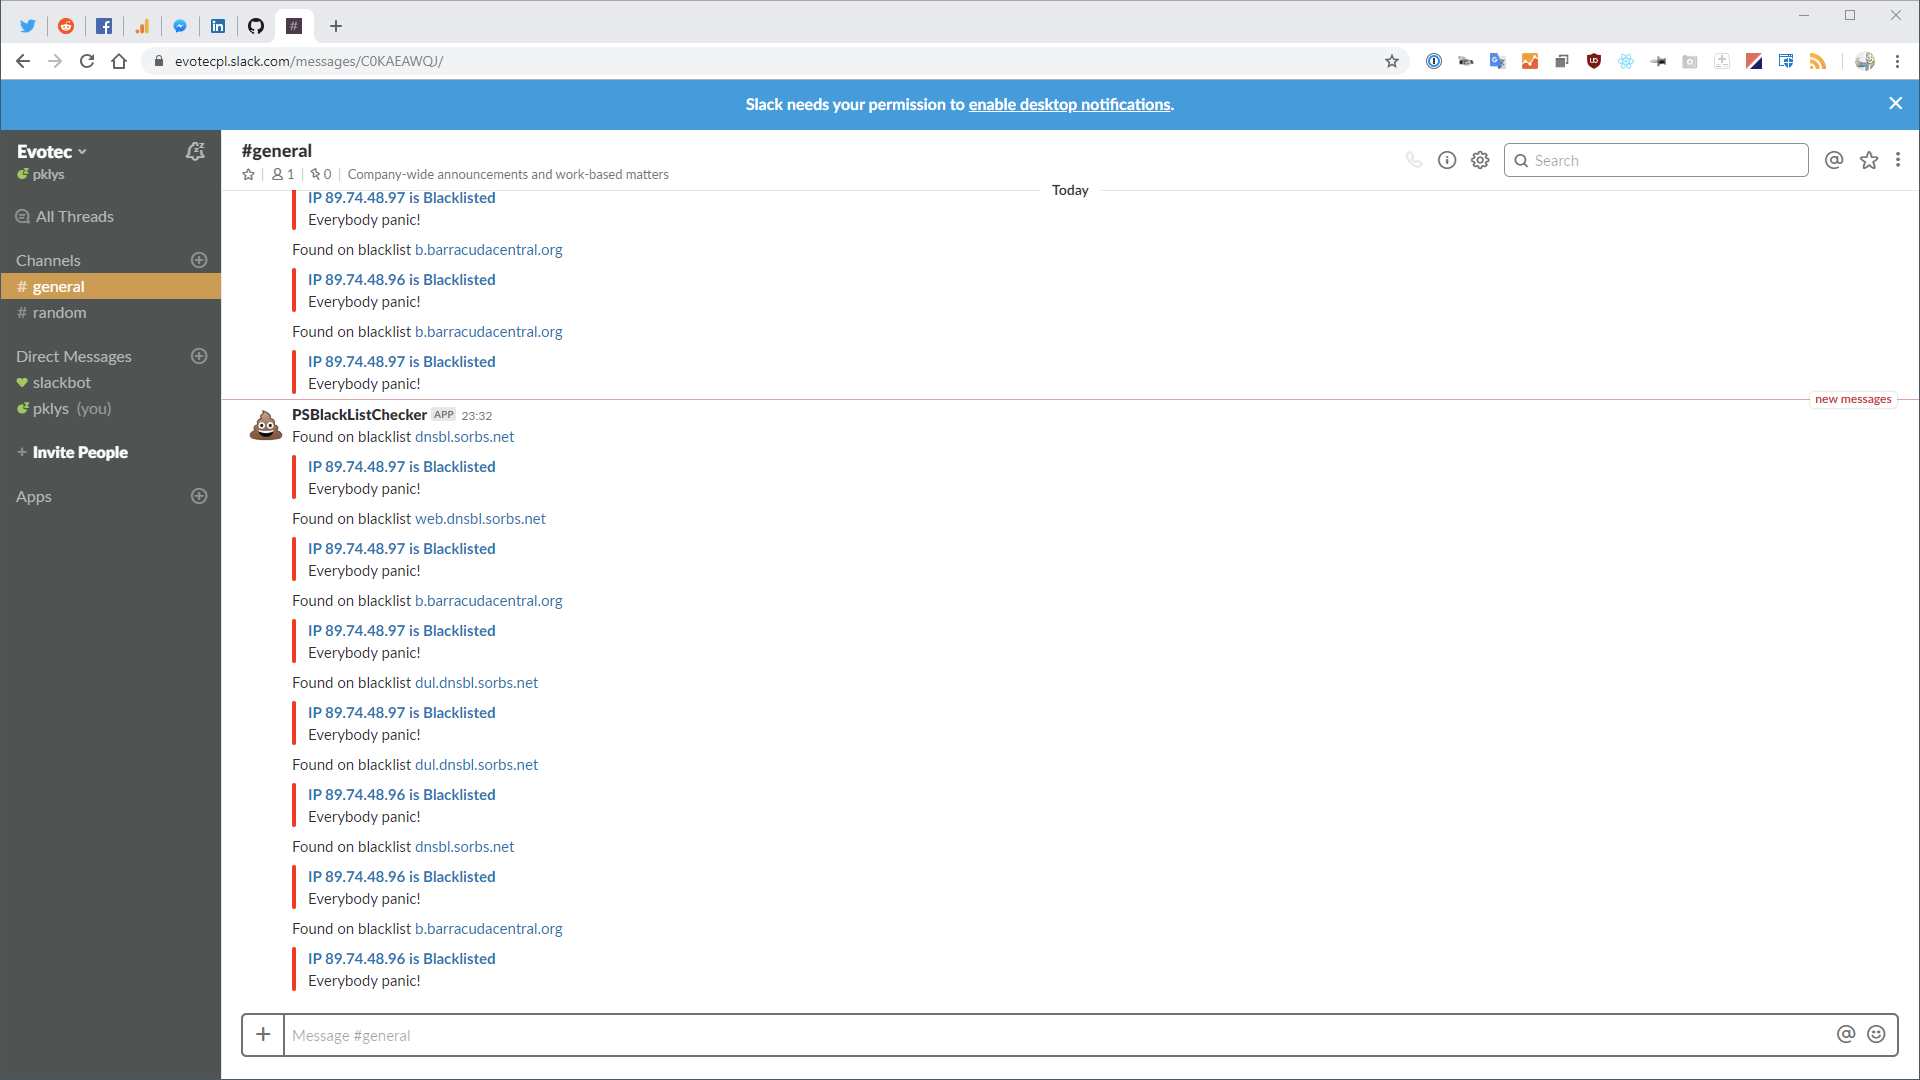
- 💬 Send notification to Slack if IP is blacklisted
💡 Useful links
- 💬 Code is published on GitHub
- 💬 Issues should be reported on GitHub
- 💬 Code is published as a module on PowerShellGallery
💡 Related articles
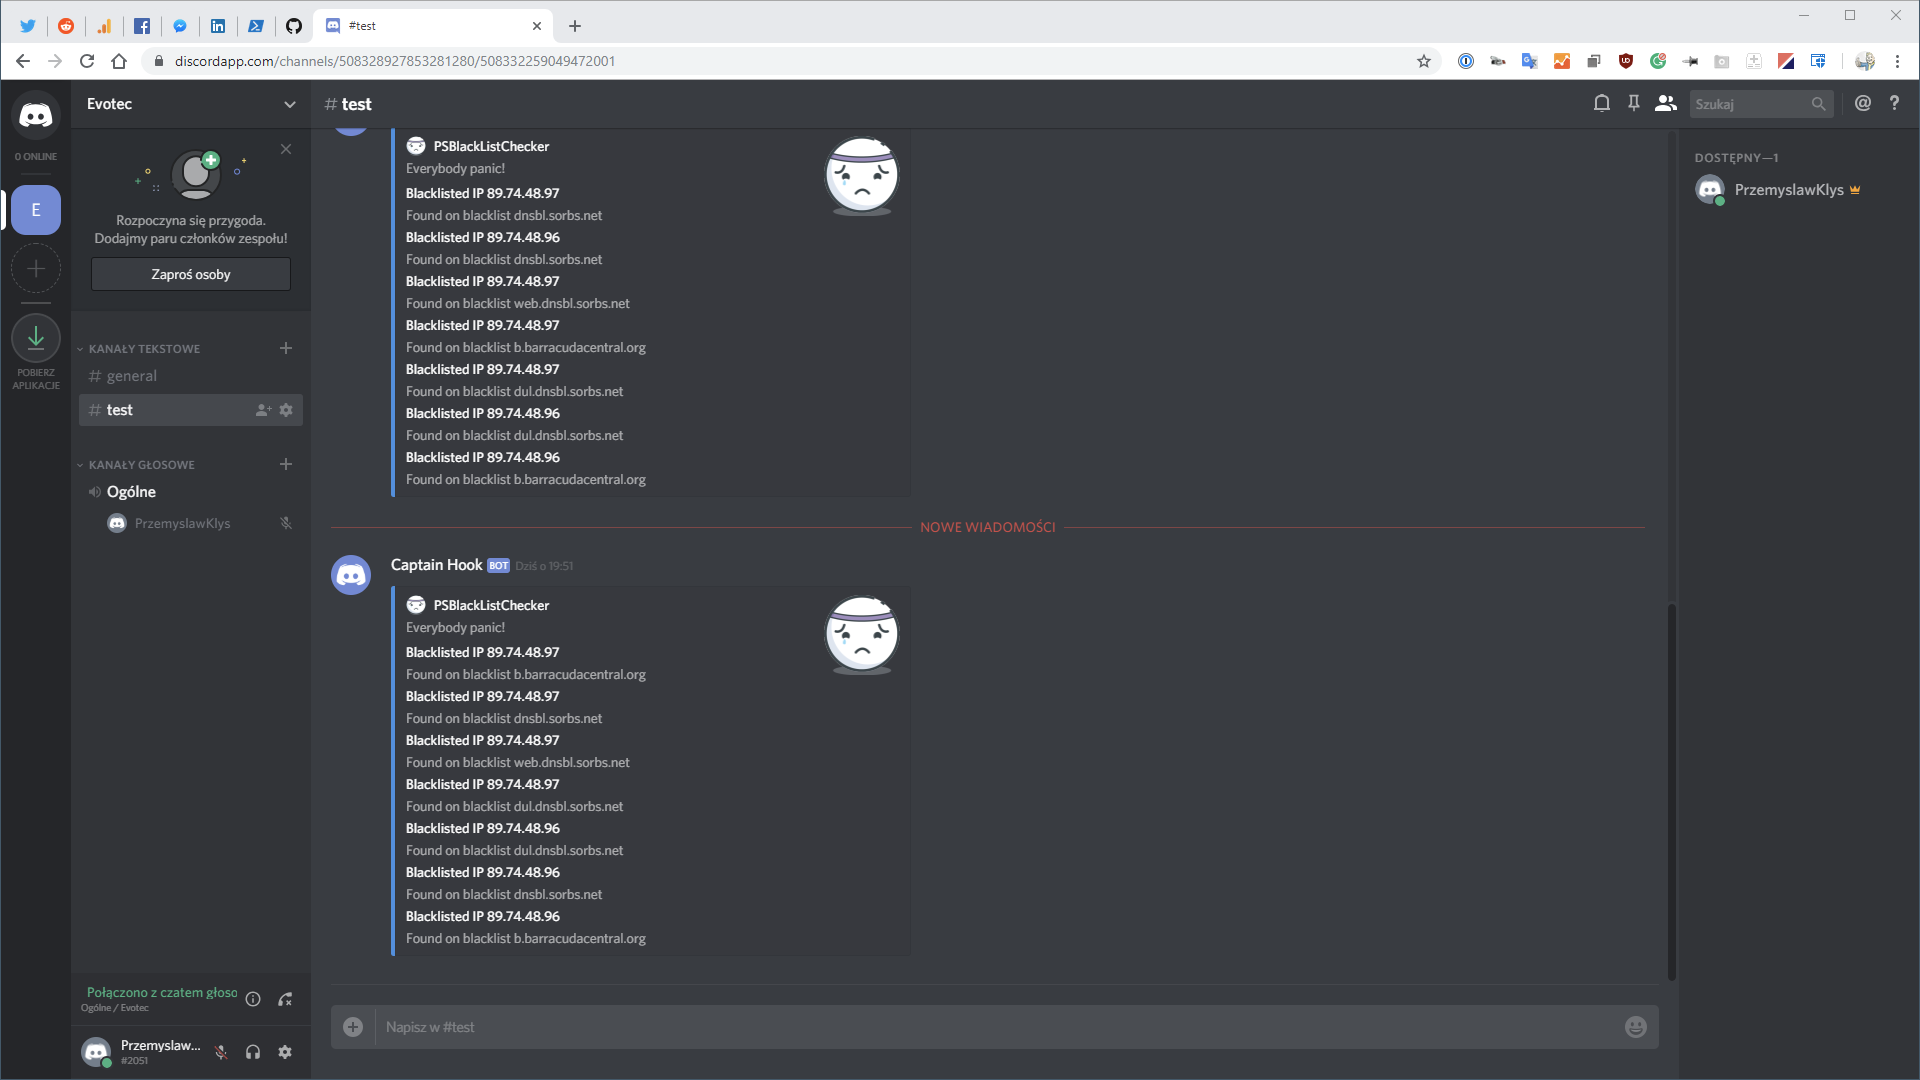
- 💬 New version (0.7.x), adds support for Discord
- 💬 New version (0.6.x), adds support for Microsoft Teams, for Slack, rewritten to improve speed
💡 Basic examples for PSBlackListChecker
The basic functionality of this module is the ability to quickly verify if given IP address is on any of over 80 defined DNSBL lists. Below code will return results only if IP is on any of the DNS records.
Import-Module PSBlackListChecker

Search-BlackList -IP '89.25.253.1' | Format-Table
Following code gives you the ability to sort your results depending on requirements.
Import-Module PSBlackListChecker

Search-BlackList -IP '89.25.253.1' -SortBy IsListed -SortDescending $true | Format-Table -Autosize
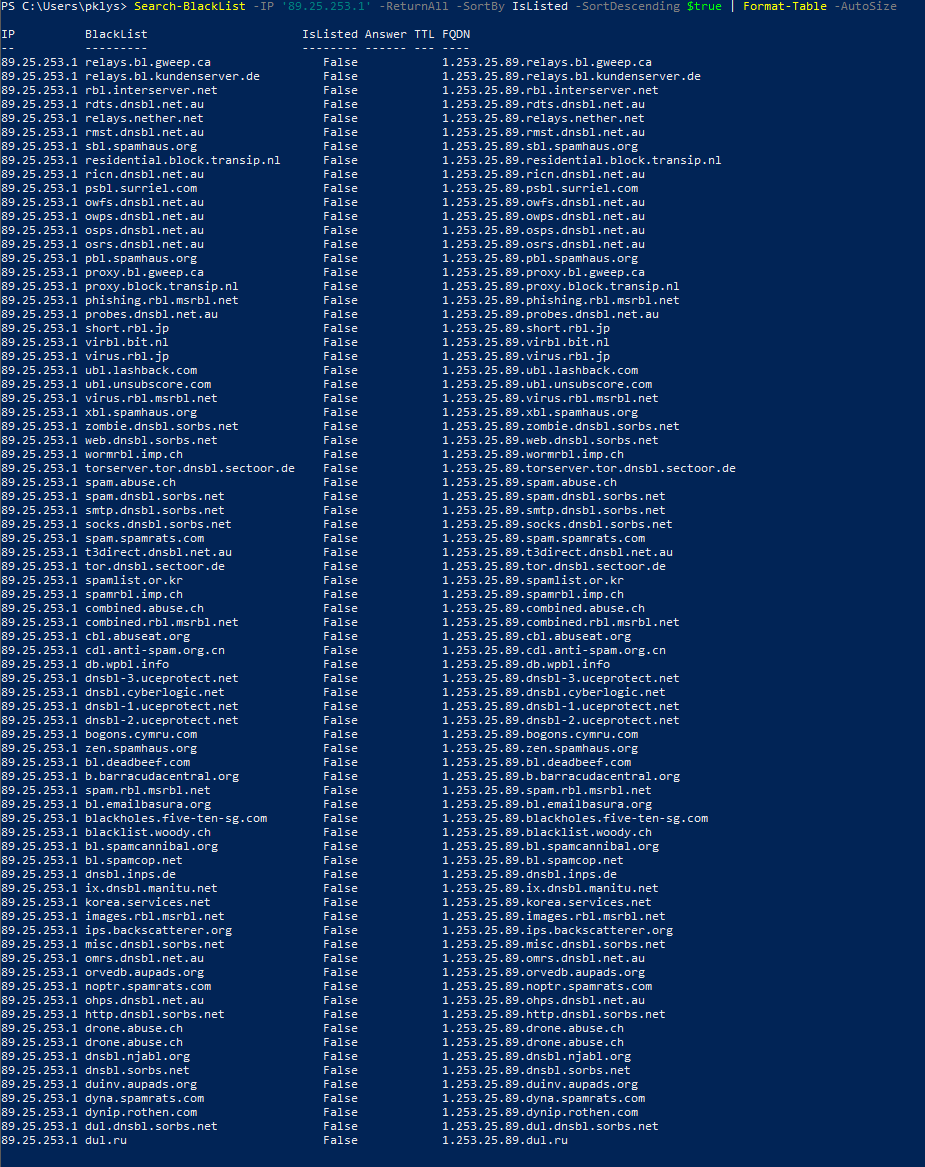
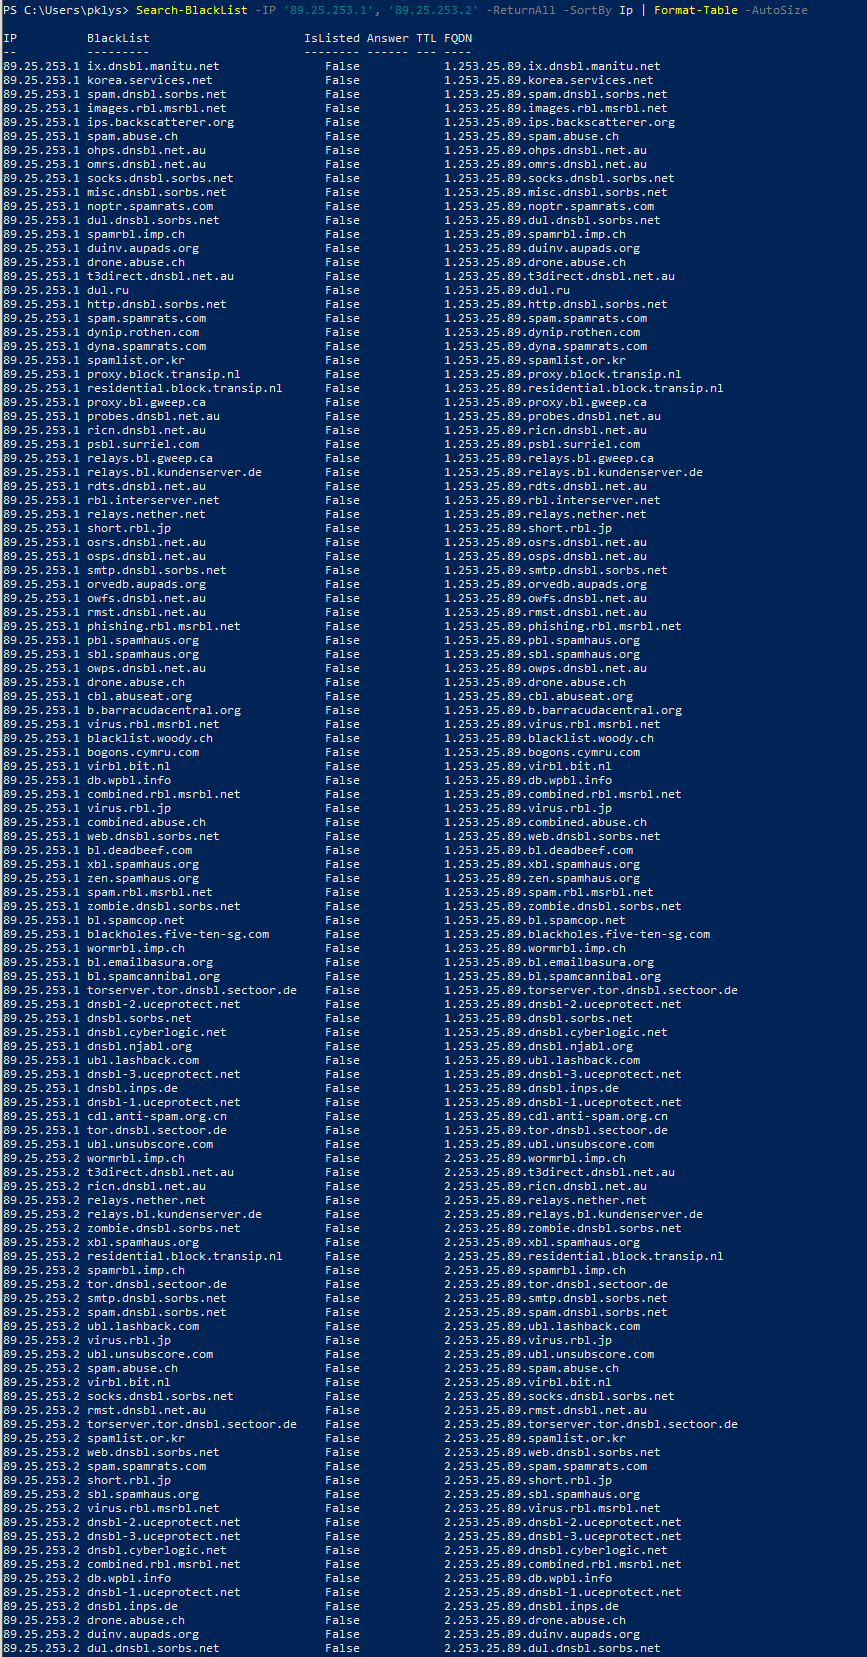
Below code shows a bit more advanced functionality where all results return (whether IP is on the blacklist or not). You can also pass multiple IP addresses at once. That's where the additional sorting option comes useful, so you can sort it as required. Proper values are IP, IsListed, Answer, Blacklist, FQDN.
Import-Module PSBlackListChecker

Search-BlackList -IP '89.25.253.1' -ReturnAll -SortBy IsListed -SortDescending $true | Format-Table -AutoSize
The results are as below
Import-Module PSBlackListChecker

Search-BlackList -IP '89.25.253.1', '89.25.253.2' -ReturnAll -SortBy Ip | Format-Table -AutoSize
The results are as below. As you can see the sorting was by Ip, but you could easily sort it by BlackList, IsListed or any other column.
💡 Setting up daily reporting for blacklists
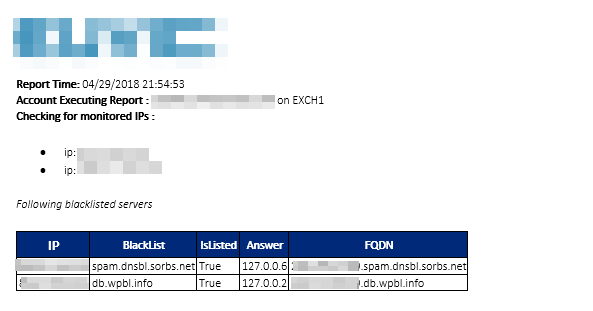
As mentioned earlier PSBlackListChecker has reporting functionality. You can set it up to send you reports on demand hourly, daily, weekly (this is instead Task Scheduler functionality than the module itself). It's just matter of setting up below code in Task Scheduler per your needs (up to every 5 minutes). Keep in mind that setting up running every X minutes would be overkill as the code does require some time to run (up to 30 seconds -2 minutes per IP) and DNS doesn't have that frequent updates anyways. As with most of the code by Evotec, the reporting has built-in company branding, font settings so you can have it adjusted to your needs. It does support relay servers, just like it supports any other SMTP based server. Keep in mind that EmailPriority in $EmailParameters will be overwritten based on the choice from $ReportOptions. With the newest version, there are also notifications to Microsoft Teams, Slack and Discord.
#using module PSDsHook
Import-Module PSBlackListChecker

$EmailParameters = @{
    EmailFrom            = "monitoring@domain.pl"
    EmailTo              = "przemyslaw.klys@domain.pl" #
    EmailCC              = ""
    EmailBCC             = ""
    EmailServer          = ""
    EmailServerPassword  = ""
    EmailServerPort      = "587"
    EmailServerLogin     = ""
    EmailServerEnableSSL = 1
    EmailEncoding        = "Unicode"
    EmailSubject         = "[Reporting] Blacklist monitoring"
    EmailPriority        = "Low" # Normal, High
}
$FormattingParameters = @{
    CompanyBranding   = @{
        Logo   = "https://evotec.xyz/wp-content/uploads/2015/05/Logo-evotec-012.png"
        Width  = "200"
        Height = ""
        Link   = "https://evotec.xyz"
        Inline = $false
    }
    FontFamily        = "Calibri Light"
    FontSize          = "9pt"
    FontHeadingFamily = "Calibri Light"
    FontHeadingSize   = "12pt"
}
$ReportOptions = @{
    MonitoredIps         = @{
        Ip1 = '89.25.253.1'
        Ip2 = '188.117.129.1'
        # you can add as many Ip's as you want / IP1,2,3,4,5 etc
    }
    NotificationsEmail   = @{
        Use                          = $false
        EmailPriorityWhenBlacklisted = 'High'
        EmailPriorityStandard        = 'Low'
        EmailAllResults              = $false
        EmailAlways                  = $true
        SortBy                       = 'IsListed' # Options: 'IP', 'BlackList', 'IsListed', 'Answer', 'FQDN
        SortDescending               = $true
    }
    # Module uses PSTeams - it comes embedded with PSTeams
    NotificationsTeams   = @{
        Use              = $false
        TeamsID          = ''
        MessageTitle     = 'IP Blacklisted'
        MessageText      = 'Everybody panic!'
        MessageImageLink = 'https://raw.githubusercontent.com/EvotecIT/PSTeams/master/Links/Asset 130.png'
        MessageButtons   = $true
    }
    # Module uses PSSlack - it comes embedded with PSBlackListChecker
    NotificationsSlack   = @{
        Use            = $false
        Channel        = '#general'
        Uri            = ""
        MessageTitle   = 'IP Blacklisted'
        MessageText    = 'Everybody panic!'
        MessageButtons = $true
        MessageEmoji   = ':hankey:'  # Emoji List https://www.webpagefx.com/tools/emoji-cheat-sheet/
        MessageAsUser  = 'PSBlackListChecker'
    }
    # Discord requires using module PSDsHook at the top
    # It also requires Install-Module PSDsHook
    NotificationsDiscord = @{
        Use              = $false
        Uri              = 'https://discordapp.com/api/webhooks/...'
        MessageImageLink = 'https://raw.githubusercontent.com/EvotecIT/PSTeams/master/Links/Asset 130.png'
        MessageColor     = 'blue'
        MessageText      = 'Everybody panic!'
    }
}

Start-ReportBlackLists -EmailParameters $EmailParameters -FormattingParameters $FormattingParameters -ReportOptions $ReportOptions
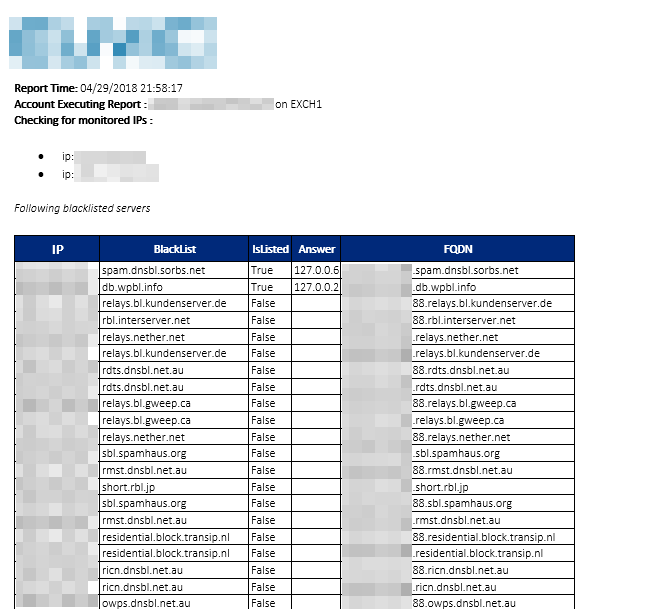
Depending on options that you choose in the configuration script your report may arrive only if your IP is found on the blacklist and with only blacklists that contain it.
Or you want to get every single list displayed you can use EmailAllResults with $True which should give you 80 DNSBL lists per each IP. I would advise to use SorBy to IsListed and SortDescending because one may not notice
Finally all emails can be tagged with HighPriority when IPs are found on the blacklists.
💡 Installing module from PowerShellGallery
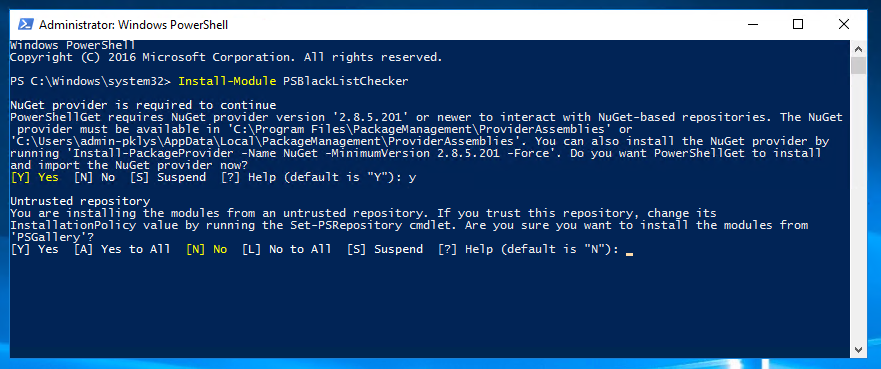
While you can use the script in a standard way by downloading it, putting it in the right places and getting it run either standalone or by running reporting in Task Scheduler, there is a much simpler way. Since the script is available on PowerShell Gallery, you can install the module and run it from anywhere. Just use Install-Module PSBlackListChecker.
Install-Module -Name "PSBlackListChecker"
Accept untrusted repository, and finally accept installation of module. And that's it… you're free to use Search-Blacklist or run the automated reports. No need to play with copying files (except for the configuration of reporting of course).
What is great about this method is that when I'll update PowerShell Module to new version… all you have to do is …
Update-Module -Name "PSBlackListChecker"

