blog
Install Windows 10 Anniversary Update on Parallels Desktop for Mac
On August 2nd Microsoft released Windows 10 Anniversary update with all brand new features. As I'm running Mac with Mac OS X El Capitan my connection with Windows is thru Parallels Desktop.
❗ Problem Description
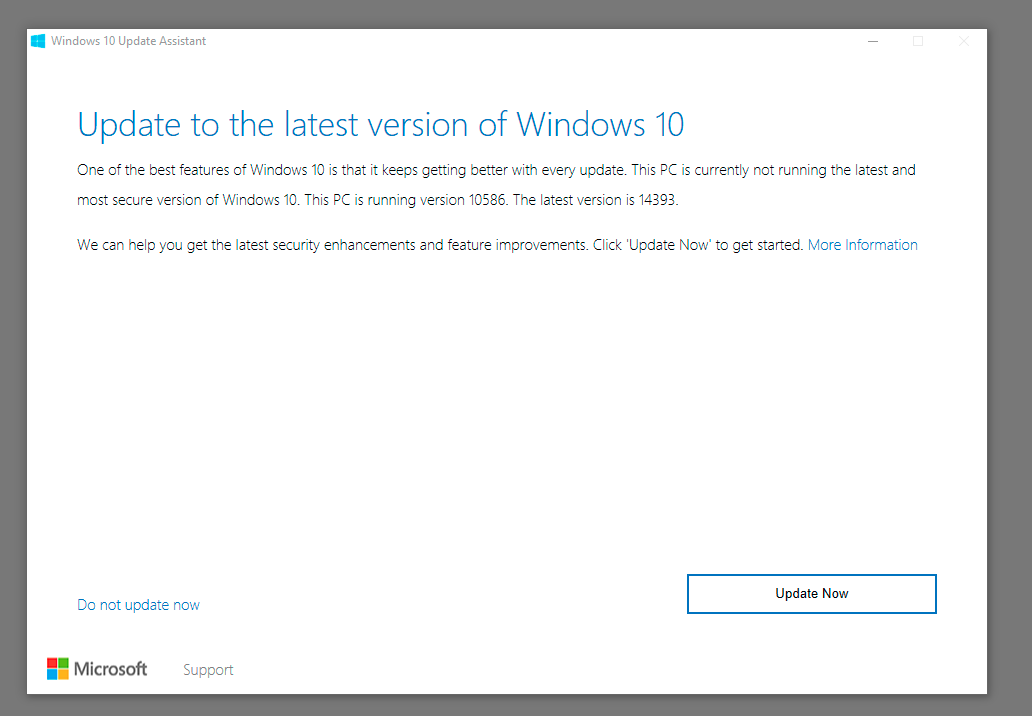
Unfortunately when I went to Windows Updates there were no new updates there. While this is something to be expected as Microsoft likes to wait before rolling it out to everyone you can get the early install by using Windows 10 Anniversary Update from Microsoft support pages. It's a small app that analyzes if PC is ready for new Windows 10 update and downloads required files to make the upgrade.
Unfortunately for my virtual Windows, Windows 10 Update Assistant doesn't like my Display.
Display: The display is not compatible with Windows 10. Check with the manufacturer for support.
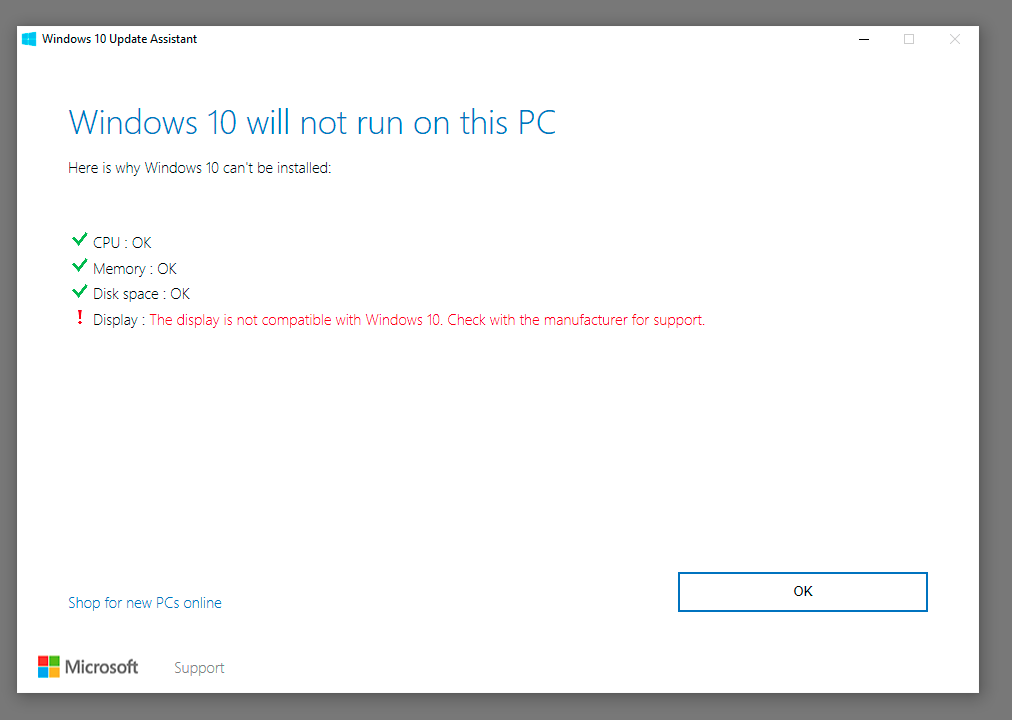
This has to be because **Parallels Desktop **on Mac OS X El Capitan doesn't actually use real display but uses a driver to emulate it.
✅ Solution
Since I was already running Windows 10 I knew this has to be a glitch that can be somehow solved. It seems there a two options to go:
Download Windows 10 ISO
While the link may seem the same depending if it's started from Windows or Mac OS X it will either bring the ISO Download option or Media Creation Tool.
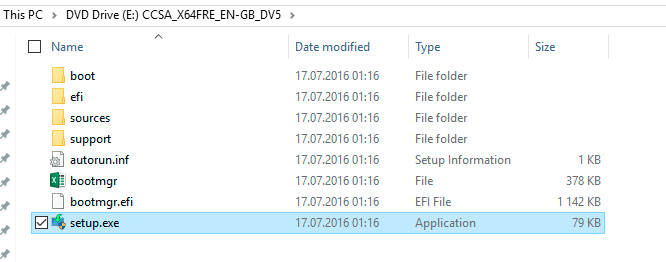
If you decide to go by using ISO simply download it, move to drive C on Windows (the “download” directory won't work due to it being virtual) and simply mount it as virtual DVD.

From there it's simple running Setup, and choosing Upgrade.
With** Media Creation** Option things are very similar, just the download part is done as part of installation process.
📝 Notes
While Windows 10 Anniversary update should go just fine before doing any upgrades please use Snapshot Manager to create snapshot of Windows just prior installation. If things go south you can simply revert to older snapshot and any changes made will be reverted.

Please be aware that if you play around with your Windows 10 after installation and decide to go back in time make sure your data is not on Windows (but mapped from Mac) otherwise you will lose changes made.