blog
How to encrypt Hyper-V host with Bitlocker on Windows 2012
There comes a time when putting a server in server room is just one of the steps to protect your privacy. Sometimes it's necessary to make sure that in case of hardware getting stolen or simply protection against unauthorized party having access to physical location is also required. That's where the encryption comes in. There are plenty of options to choose from but Microsoft includes built-in method to protect your server. Best thing about it is that it actually supports Microsoft Hyper-V servers so that encrypting HOST protects hosted servers as well.
🔹 Encrypting operating system drive with Bitlocker
Open Server Manager
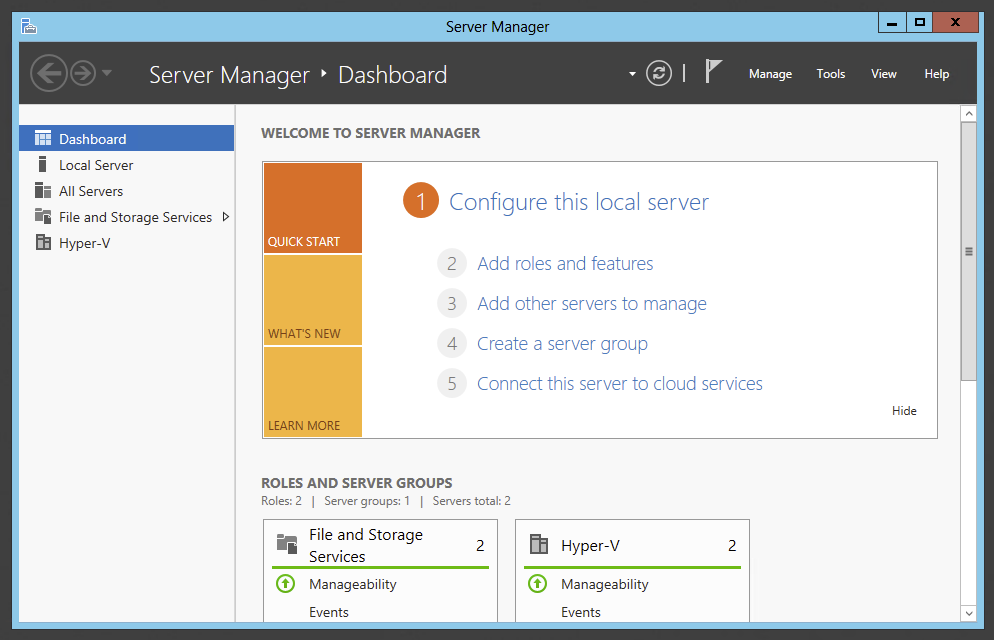
Choose Add Roles and Features option and press Next on the overview screen.
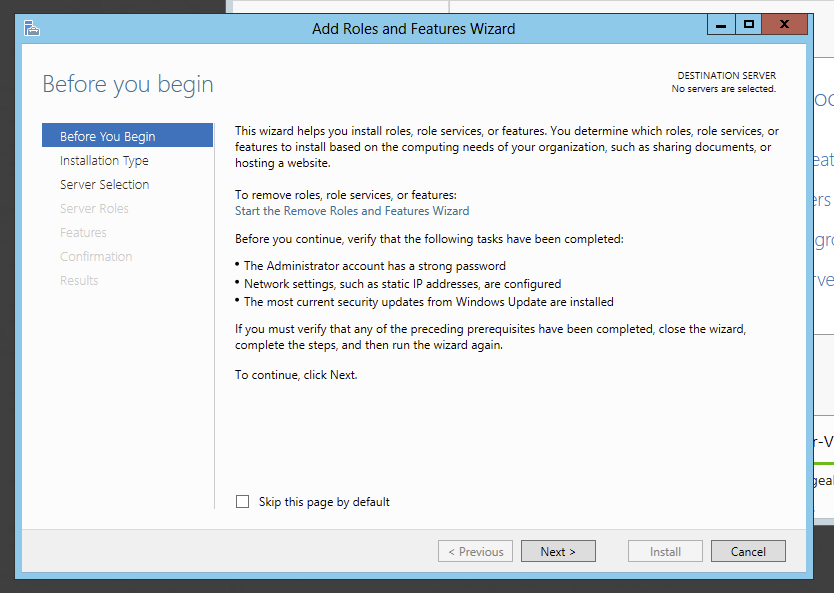
Choose Role-based or feature-based installation and press Next

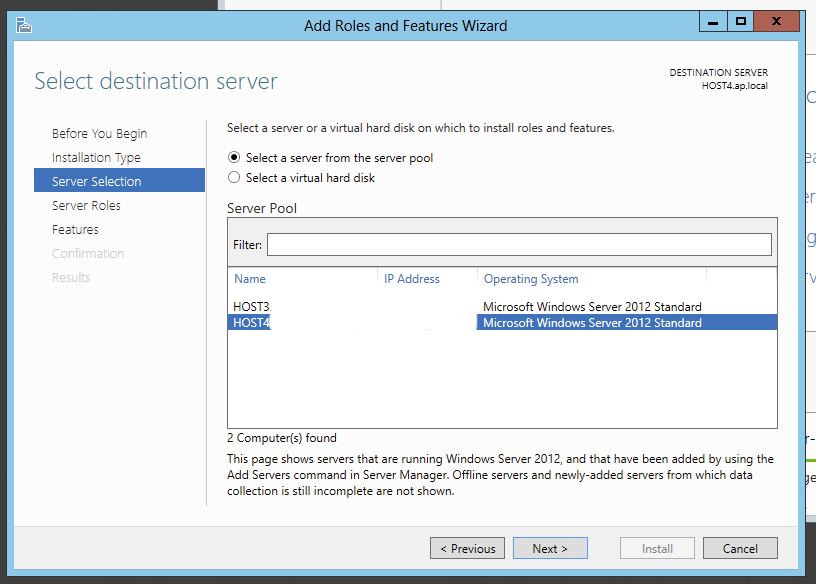
Choose option **Select a server from the server **pool and choose proper server from the list. Confirm selection with Next
On next screen on the Server Roles section skip it by pressing Next making no changes.
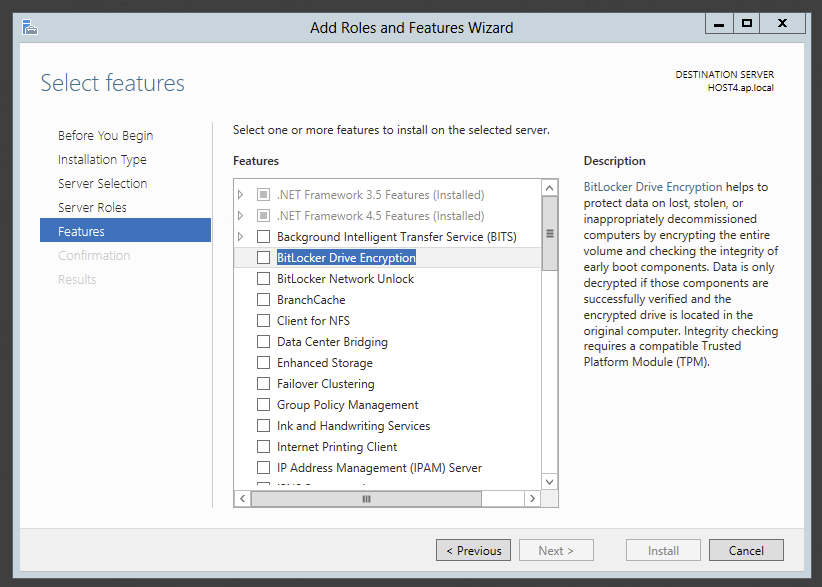
On the Features section choose **BitLocker ****Drive Encryption **feature and confirm choice to **Include management tools **installation. If that option doesn't show and **Next **button is greyed out try to uncheck and check again this option which should unlock further installation.
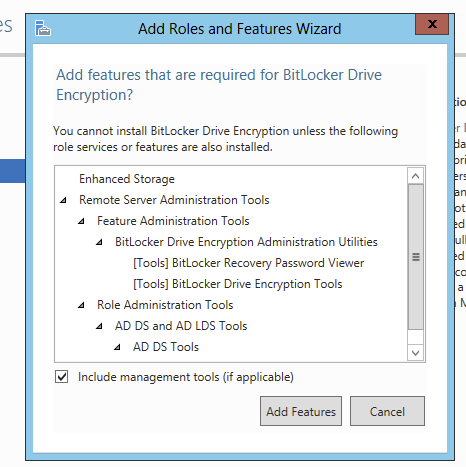
Choose Add Features option which should select couple of additional options in the features section.
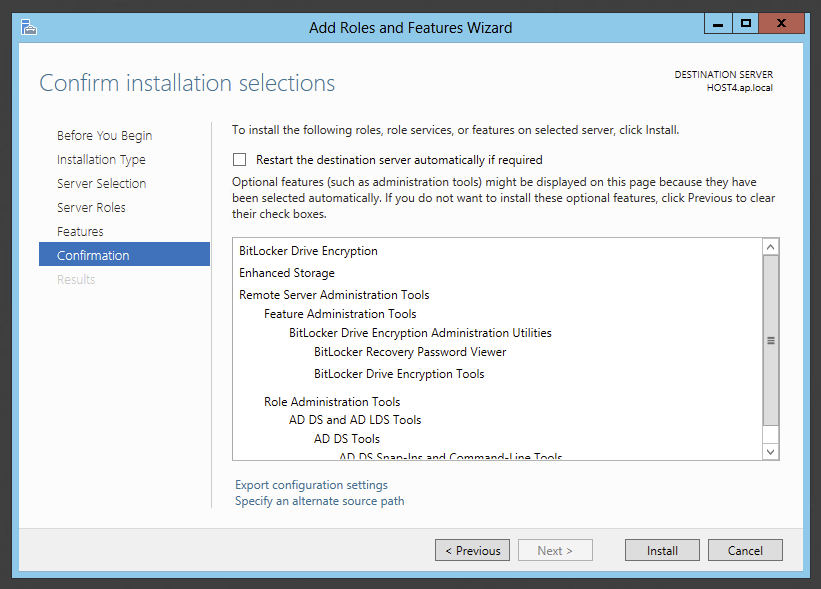
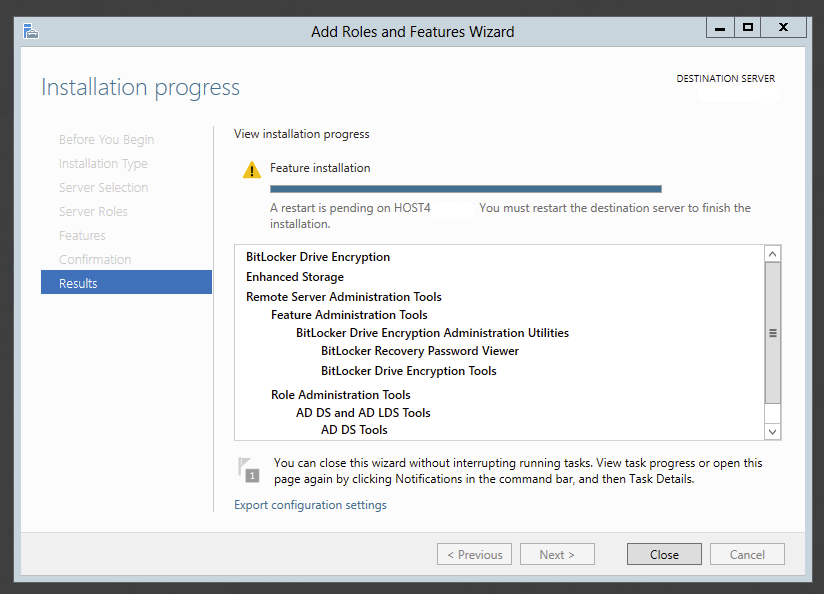
Confirm choice by clicking Install. When installation is done restart server to finish installation of Bitlocker. No encryption process will start.
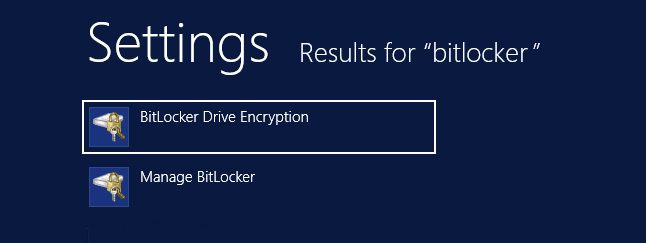
After server is back online go to Start, type in Bitlocker and find Bitlocker Drive Encryption
The same can be accomplished by going into Control Panel and simply selecting the option Bitlocker Drive Encryption
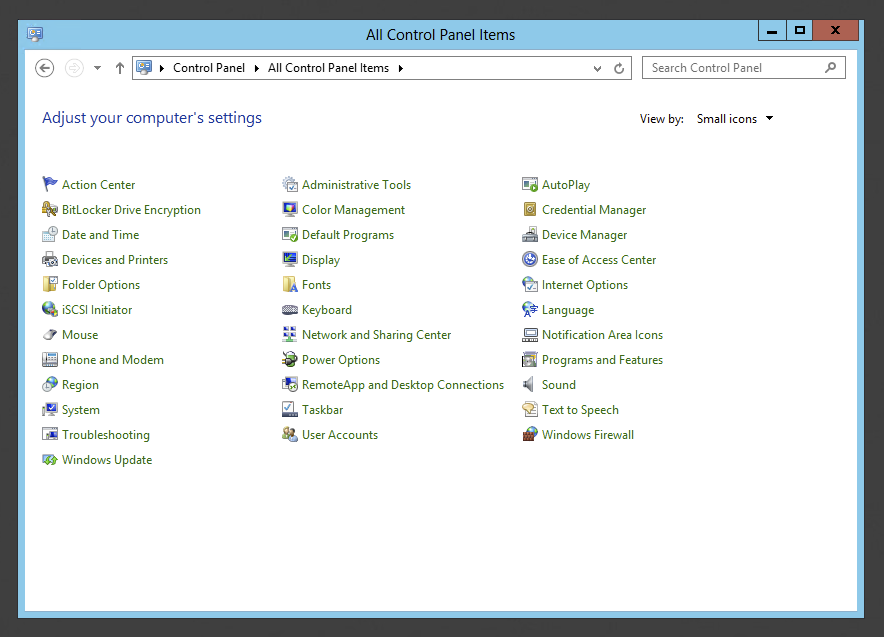
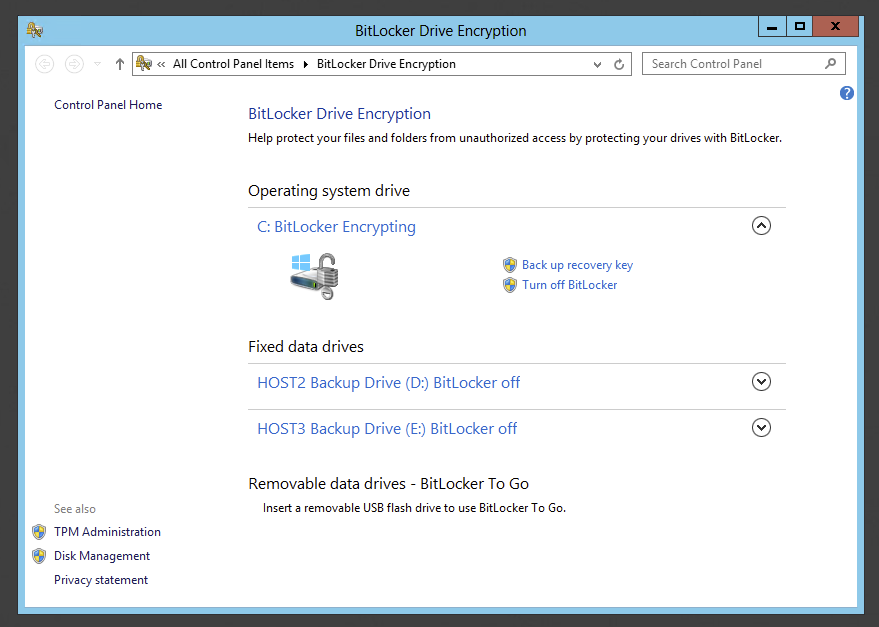
After opening Bitlocker Drive Encryption control panel application we get to turn on Bitlocker for system drive, as well as any other drives in the system.
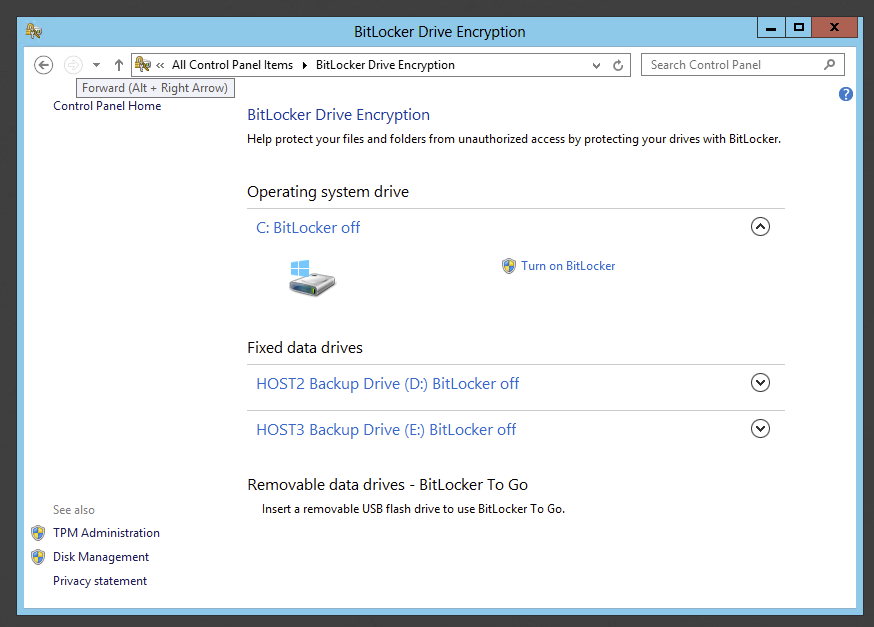
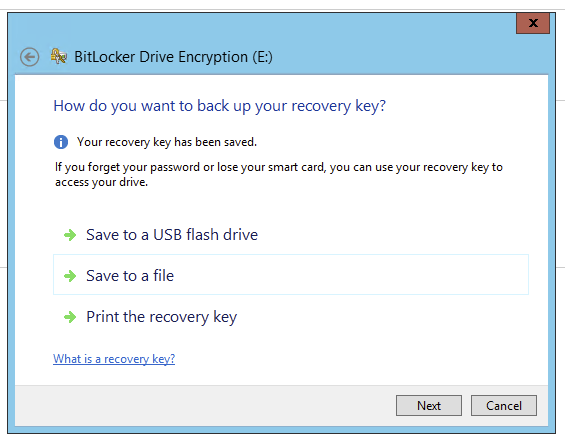
Pressing **Turn on Bitlocker **triggers an option to Save recovery key to a file, or to print it. Since this key is very important it's advised to make multiple copies of the key. Also saving the key is not that easy as Windows will not allow to save the key on the same drive, or any other drive inside root directory. If this key is lost, your chances of recovering the data from drive are minimal.
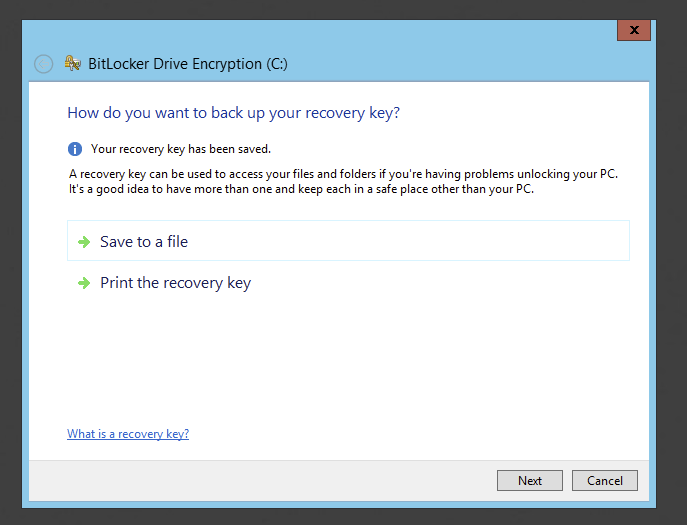
When done with saving the file or printing it, press Next to follow with encryption process
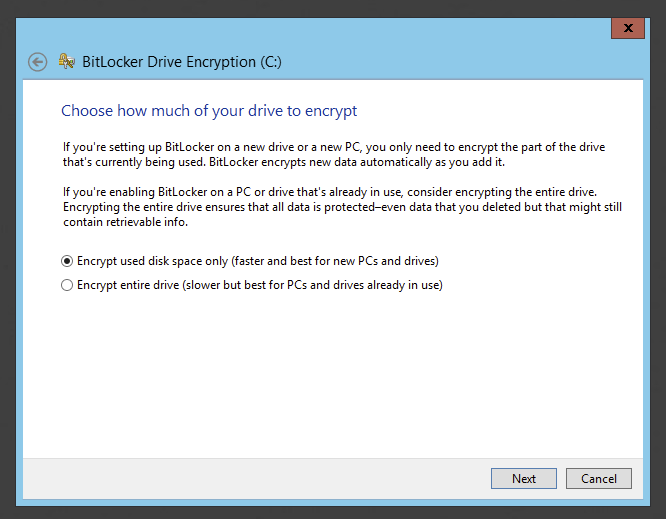
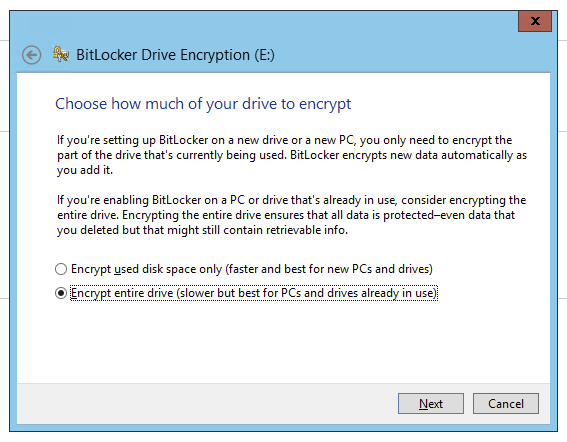
Finally depending on situation one has to decide whether to encrypt entire drive or used space only. After choosing proper option proceed by pressing Next
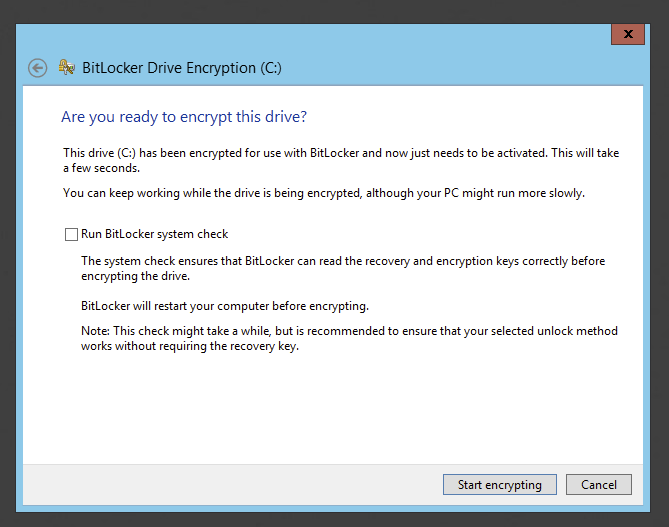
Before encryption process is started there's a final confirmation if you really want to encrypt the drive. Make sure the check checkbox Run Bitlocker system check to verify recovery and encryption keys. Press Restart Now to finish Bitlocker initialization.
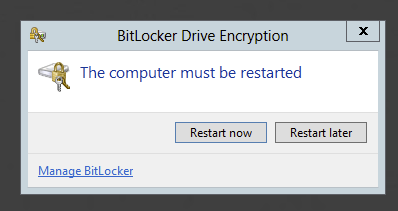
Until this is done bitlocker encryption won't be started.
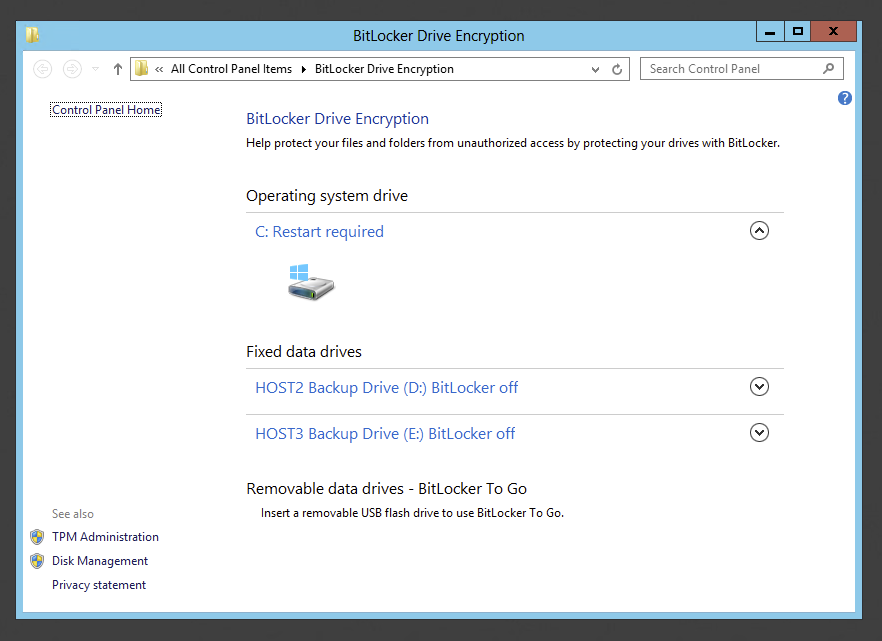
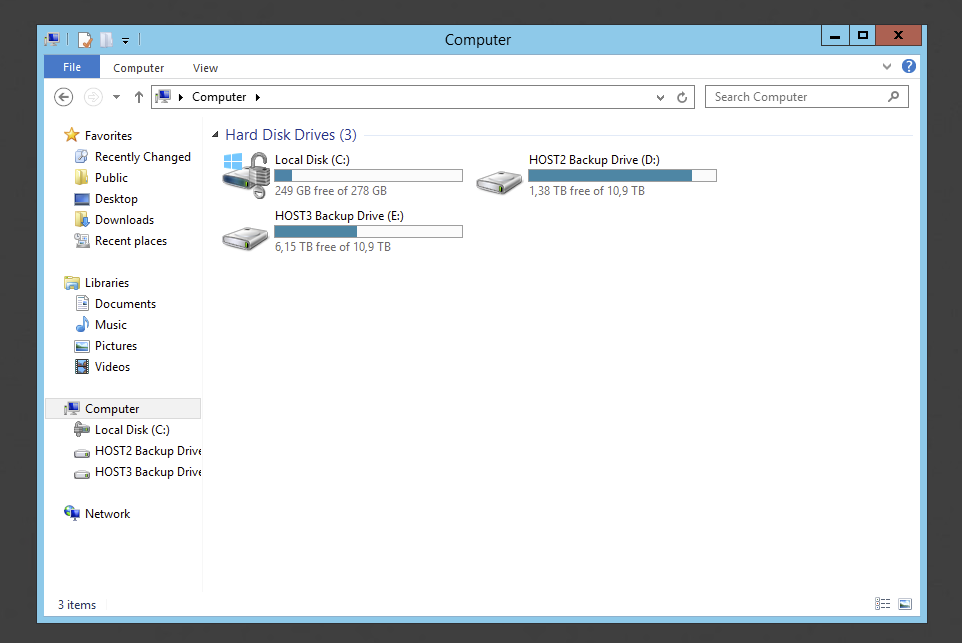
After reboot encryption process starts and our drive is now marked as encrypted.
We can also check status of encryption by opening **Bitlocker Drive Encryption **app. At this point drive C is still being encrypted.
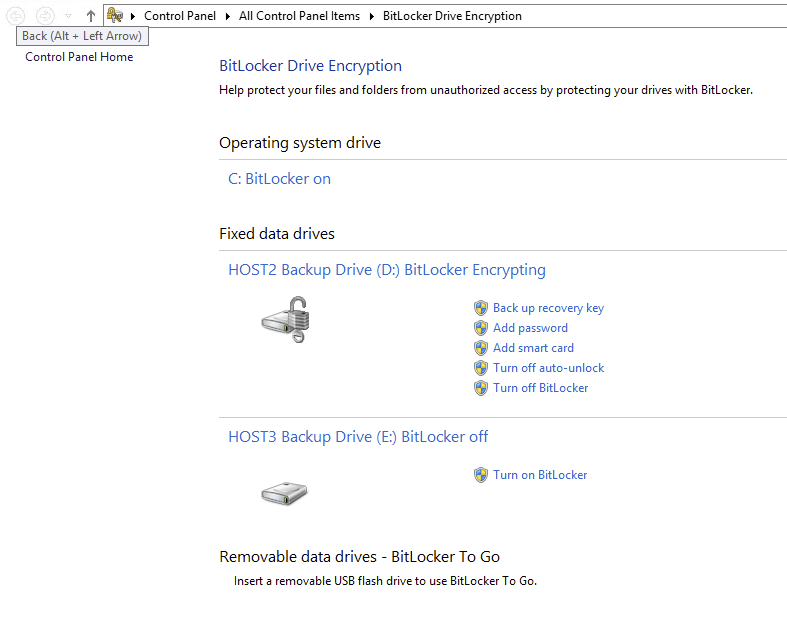
🔹 Encrypting Fixed Data Drives with Bitlocker
Adding additional encryption for other drives is much easier process. Simply go **Bitlocker Drive Encryption **app in control panel and choose **Turn on Bitlocker **for Fixed Data drives.
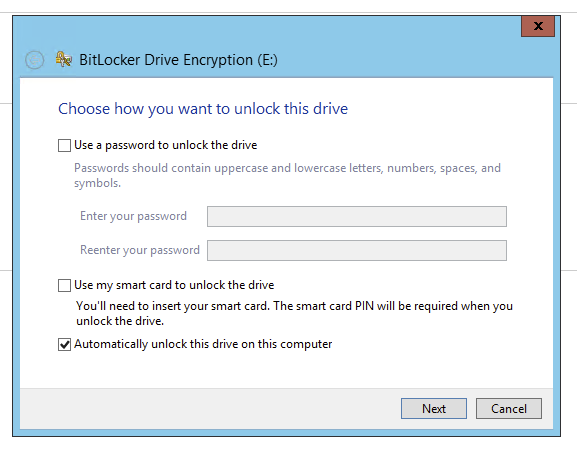
When new wizard shows up we just need to choose how we want to unlock this drive. In our case we wanted additional drives to be mounted with system as we already have system drive encrypted. Please be aware that this option is not available if system drive is not encrypted.
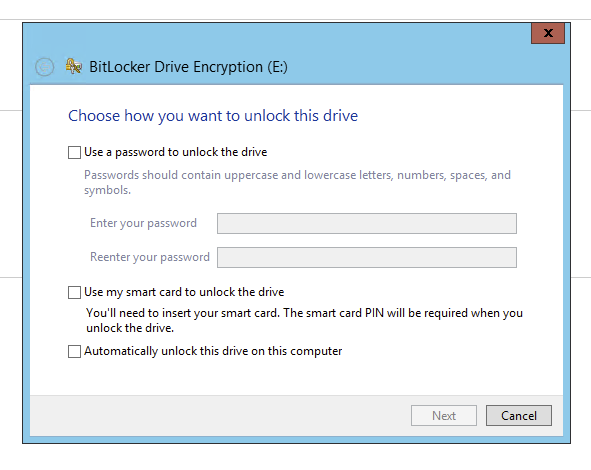
Press **Next **to proceed further
Again we need to save our recovery key so that in case of any problems we can easily decrypt the data.
After the file has been saved press Next. On next question we need to decide whether whole drive needs to be encrypted or just data. Since we already had data on this drive we are encrypting entire drive with Bitlocker. However on new drives it's possible to start with used space only.
Pressing Next takes us to last screen where we need to confirm we want to start encryption process.
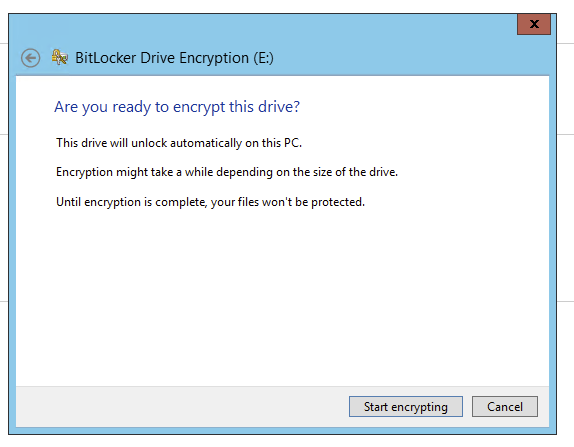
Press **Start encrypting **and enjoy bitlocked drives.
📝 Notes
By default Bitlocker configuration works in a way that involves storing encryption keys inside TPM chip. This protects the data on drives in a way that when drive is removed from the machine it cannot be accessed. However that setup doesn't require any additional PIN or Password to decrypt drive. So on any reboot/start of machine the machine is up and running and ready to be accessed by standard login and password. This protection is enough to keep data secure but some administrators want additional security and require PIN before machine is able to boot up. This requires additional settings.