blog
How to backup FTP to Synology Station
Having backups of your website or/and ftp server is an important part of administrator's life. There are multiple ways to set it up but our Client asked us provide him solution to backup his** ftp files** to his personal Synology at home. Synology with it's full features offered as standard package is perfect for this scenario.
📋 Prerequisites
To prepare Synology to get files from an ftp server and store it safely on Synology we need to prepare couple of things first.
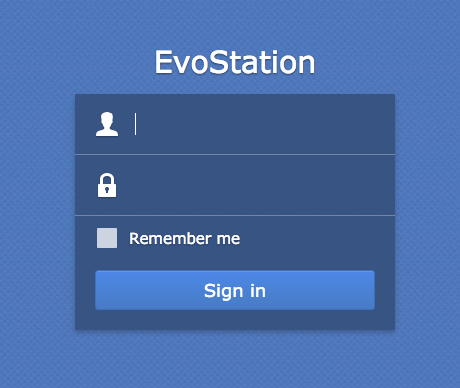
Login to your Synology Station
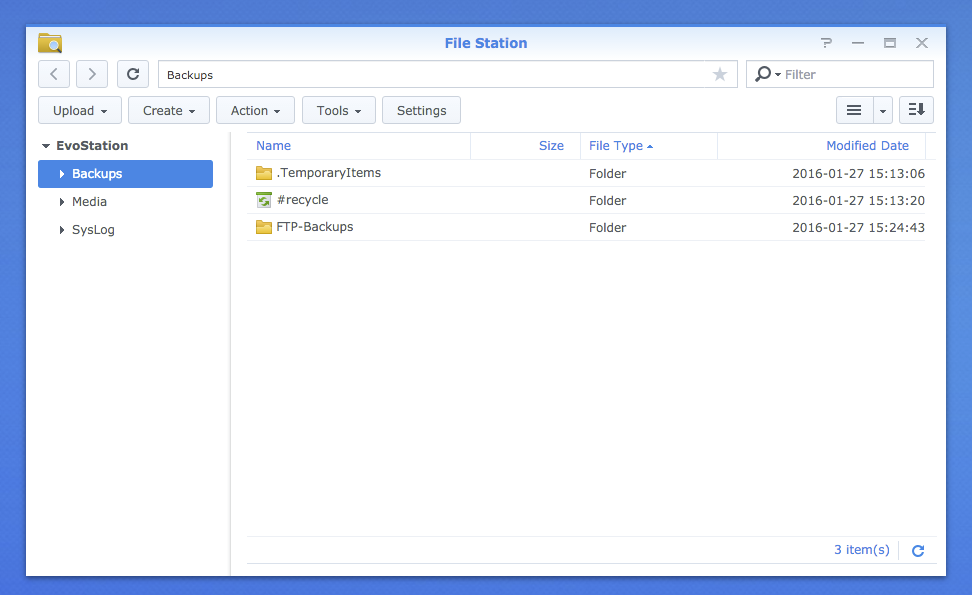
- Open your **File Station **
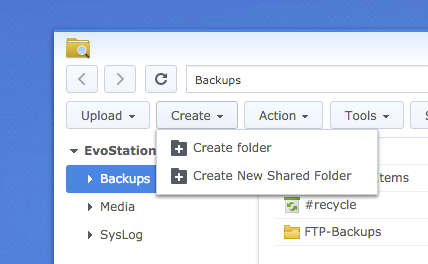
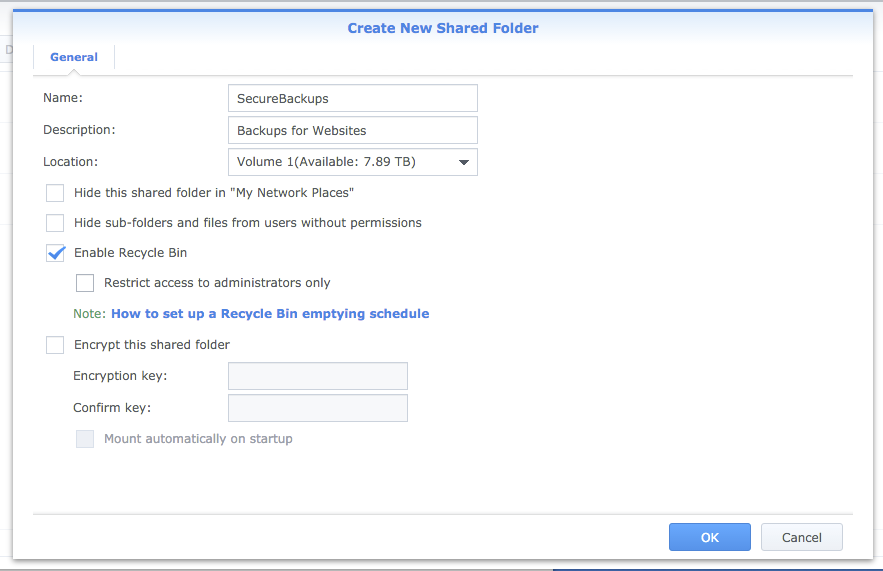
- Create New Shared Folder
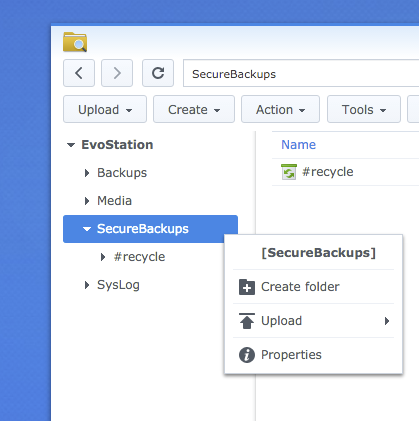
- Pick a name for it according to your prefered standards. In our case it's called SecureBackups and we've enabled Recycle Bin option (although not necessary it comes useful).
- After pressing **OK **we're given an option to choose users who will be able to access the Shared Folder (either from Mac or Windows). This step is not really necessary for the backup itself but our Client wanted to have access to his backups from his Mac so he can do verification of content from time to time.
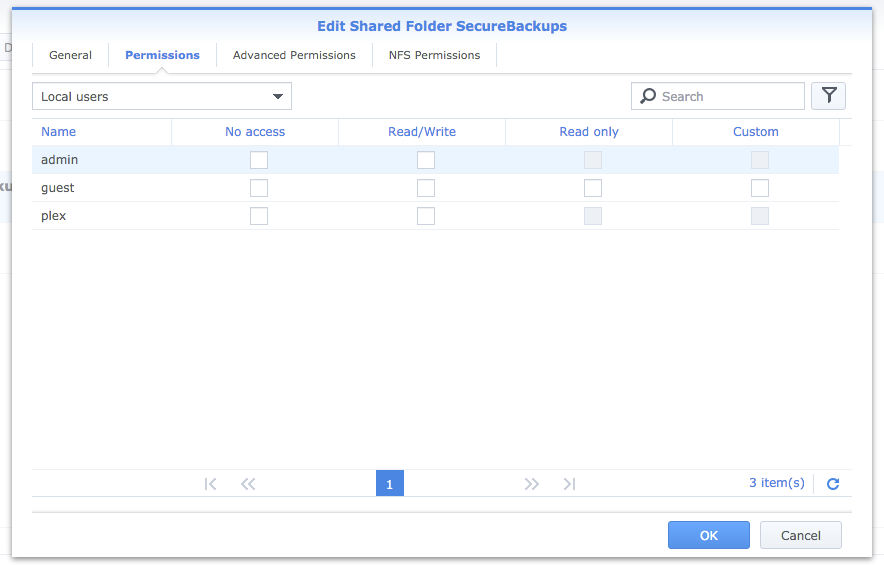
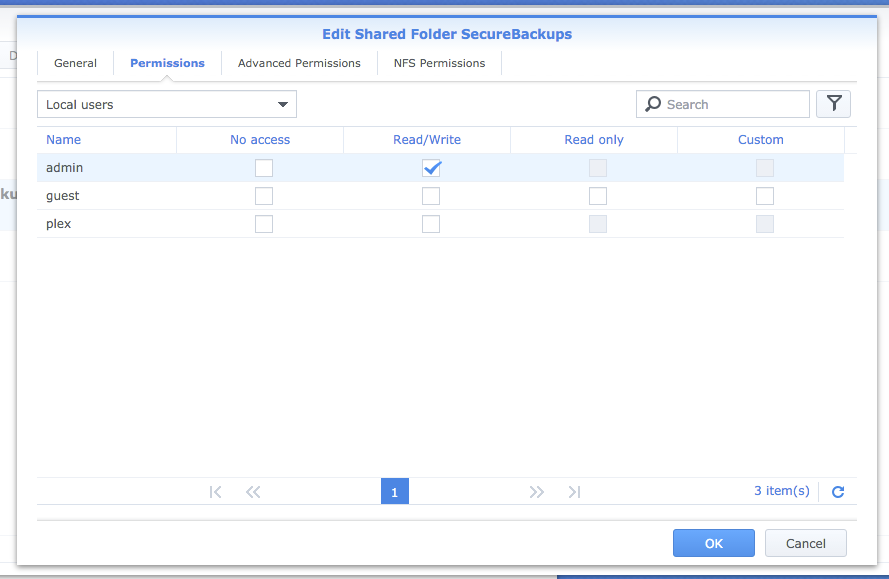
- Select proper permissions for the user (in our case Read/Write for admin)
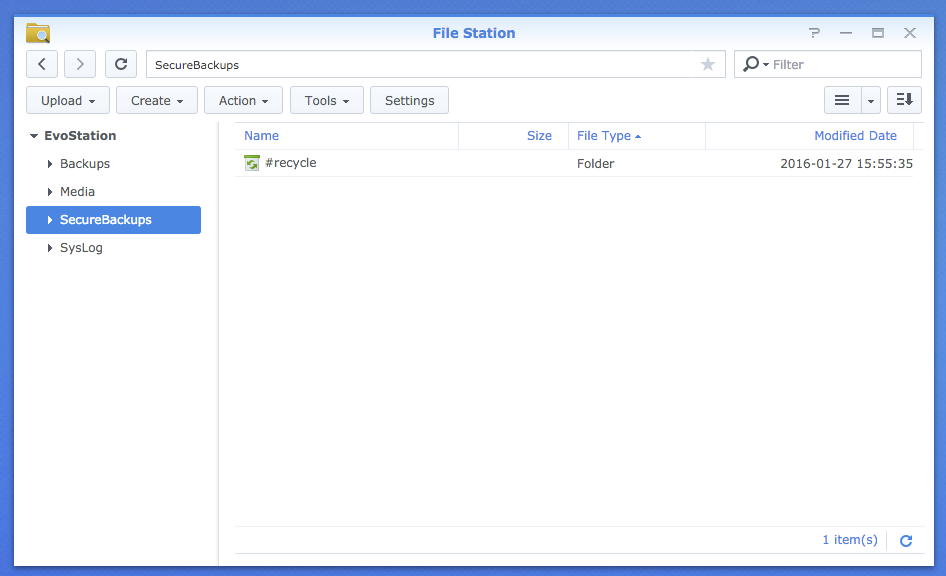
- After pressing **OK **newly created share should be available within Synology File Station
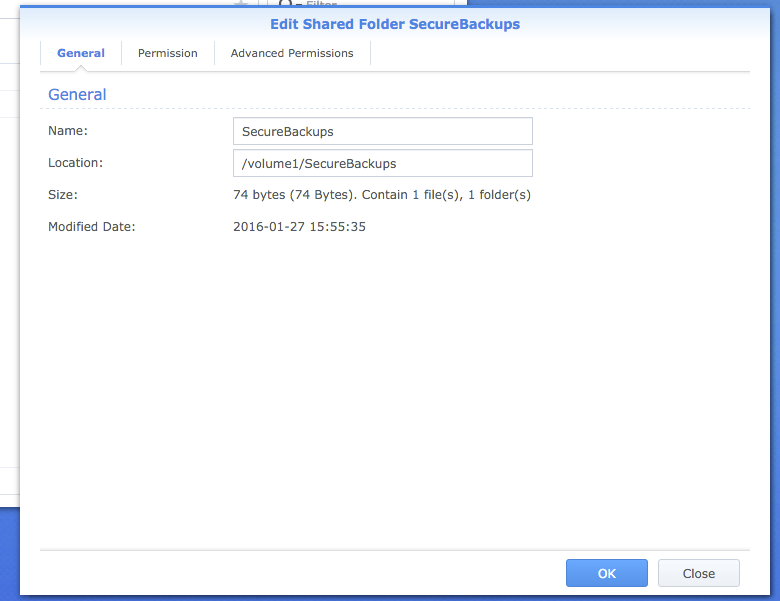
- The important thing now is to find where the folder **SecureBackups **is actually stored on our **Synology. **Right click on **SecureBackups **and choose Properties.
- As you can see below our newly **shared directory **is available at /volume1/SecureBackups
- With that knowledge in mind we can now setup backup of ftp server to Synology.
💾 Solution
In the last step we need to configure a new Task in **Task Scheduler **that is available in Control Panel
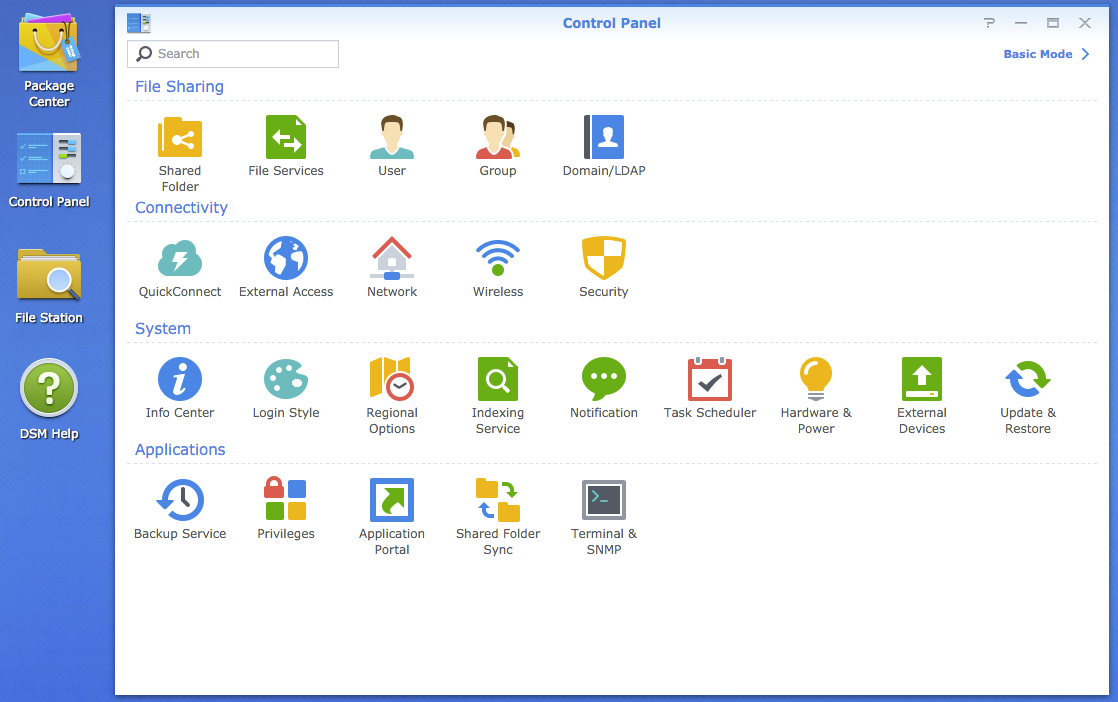
- Open Task Scheduler
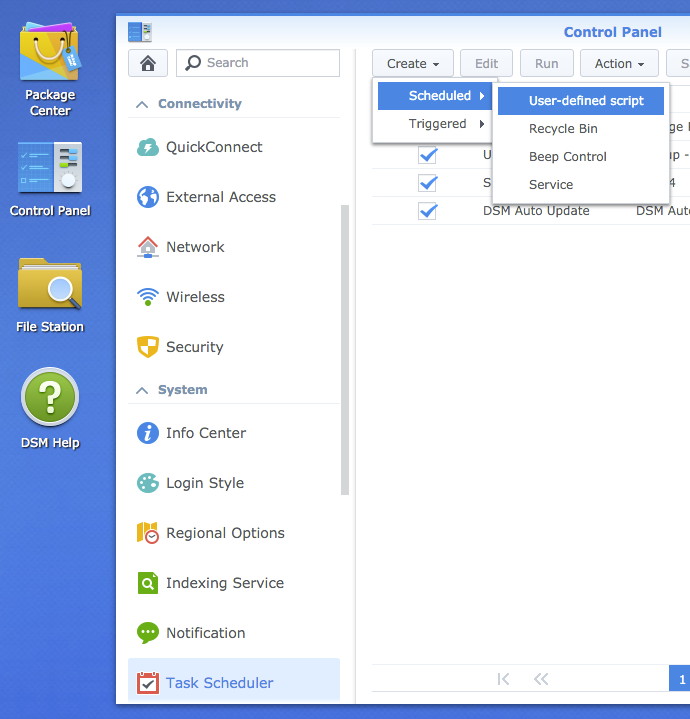
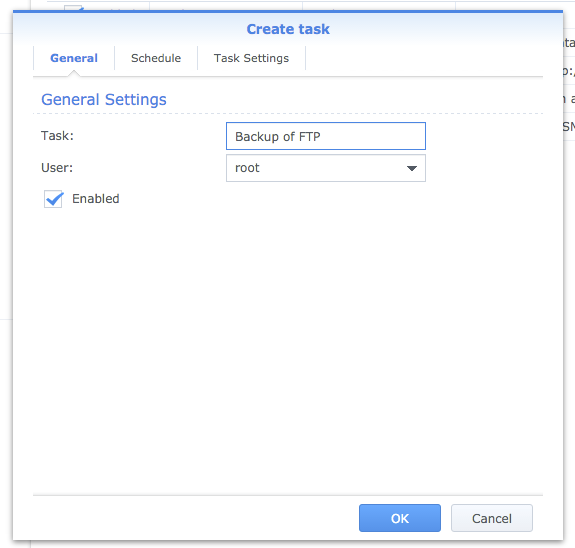
- Create new Task by pressing Create and choosing proper option that's suitable for your scenario. In our case we wanted to run this on daily basis so we've choosen Scheduled – User-defined script. Choose a proper name for the Task and switch to next tab
- On next tab you can schedule the times of backup depending on your needs. I would advise something around 3, where the possibility of internet interruption is the lowest.

- On the final tab… this is where the magic happens..
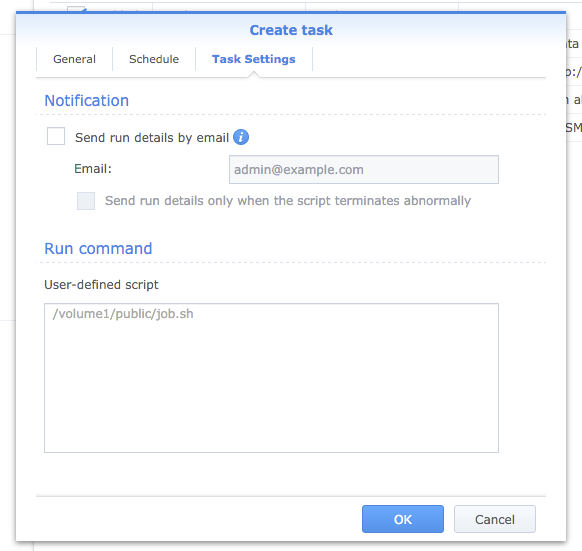
- As the script we've prepared is very short and doesn't require much work you can simply copy/paste it's content into the box
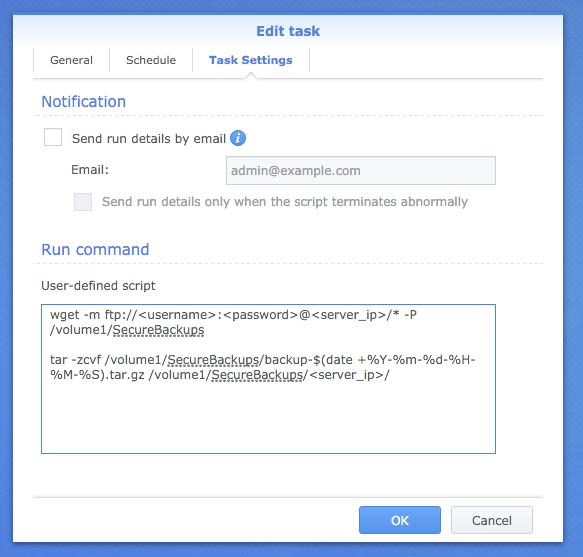
There are 2 lines in the script. The first line is doing mirroring of the currently selected **FTP Server **and putting it's content into **/volume1/SecureBackups. **The 2nd line is responsible for packing that content into dated.tar.gz **archives **providing a go back scenario.
wget -m ftp://:@/* -P /volume1/SecureBackups
tar -zcvf /volume1/SecureBackups/backup-$(date +%Y-%m-%d-%H-%M-%S).tar.gz /volume1/SecureBackups//
This little script does couple of nice things:
- It mirrors current structure of the ftp server as found.
- If rerun it compares the content in current folder on Synology with content on ftp and only redownloads the differences.
- It backups current state after the backup is made into dated archive so one can go back in time without much effort.
So after we're happy with how the script looks like we can finish creating our task.
- After pressing **OK **our task is saved. To verify it's functionality simply press Run and verify it's results.
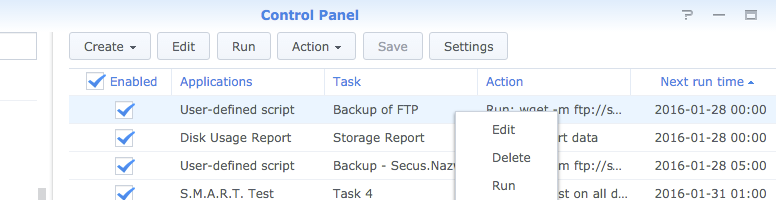
- Confirm choice
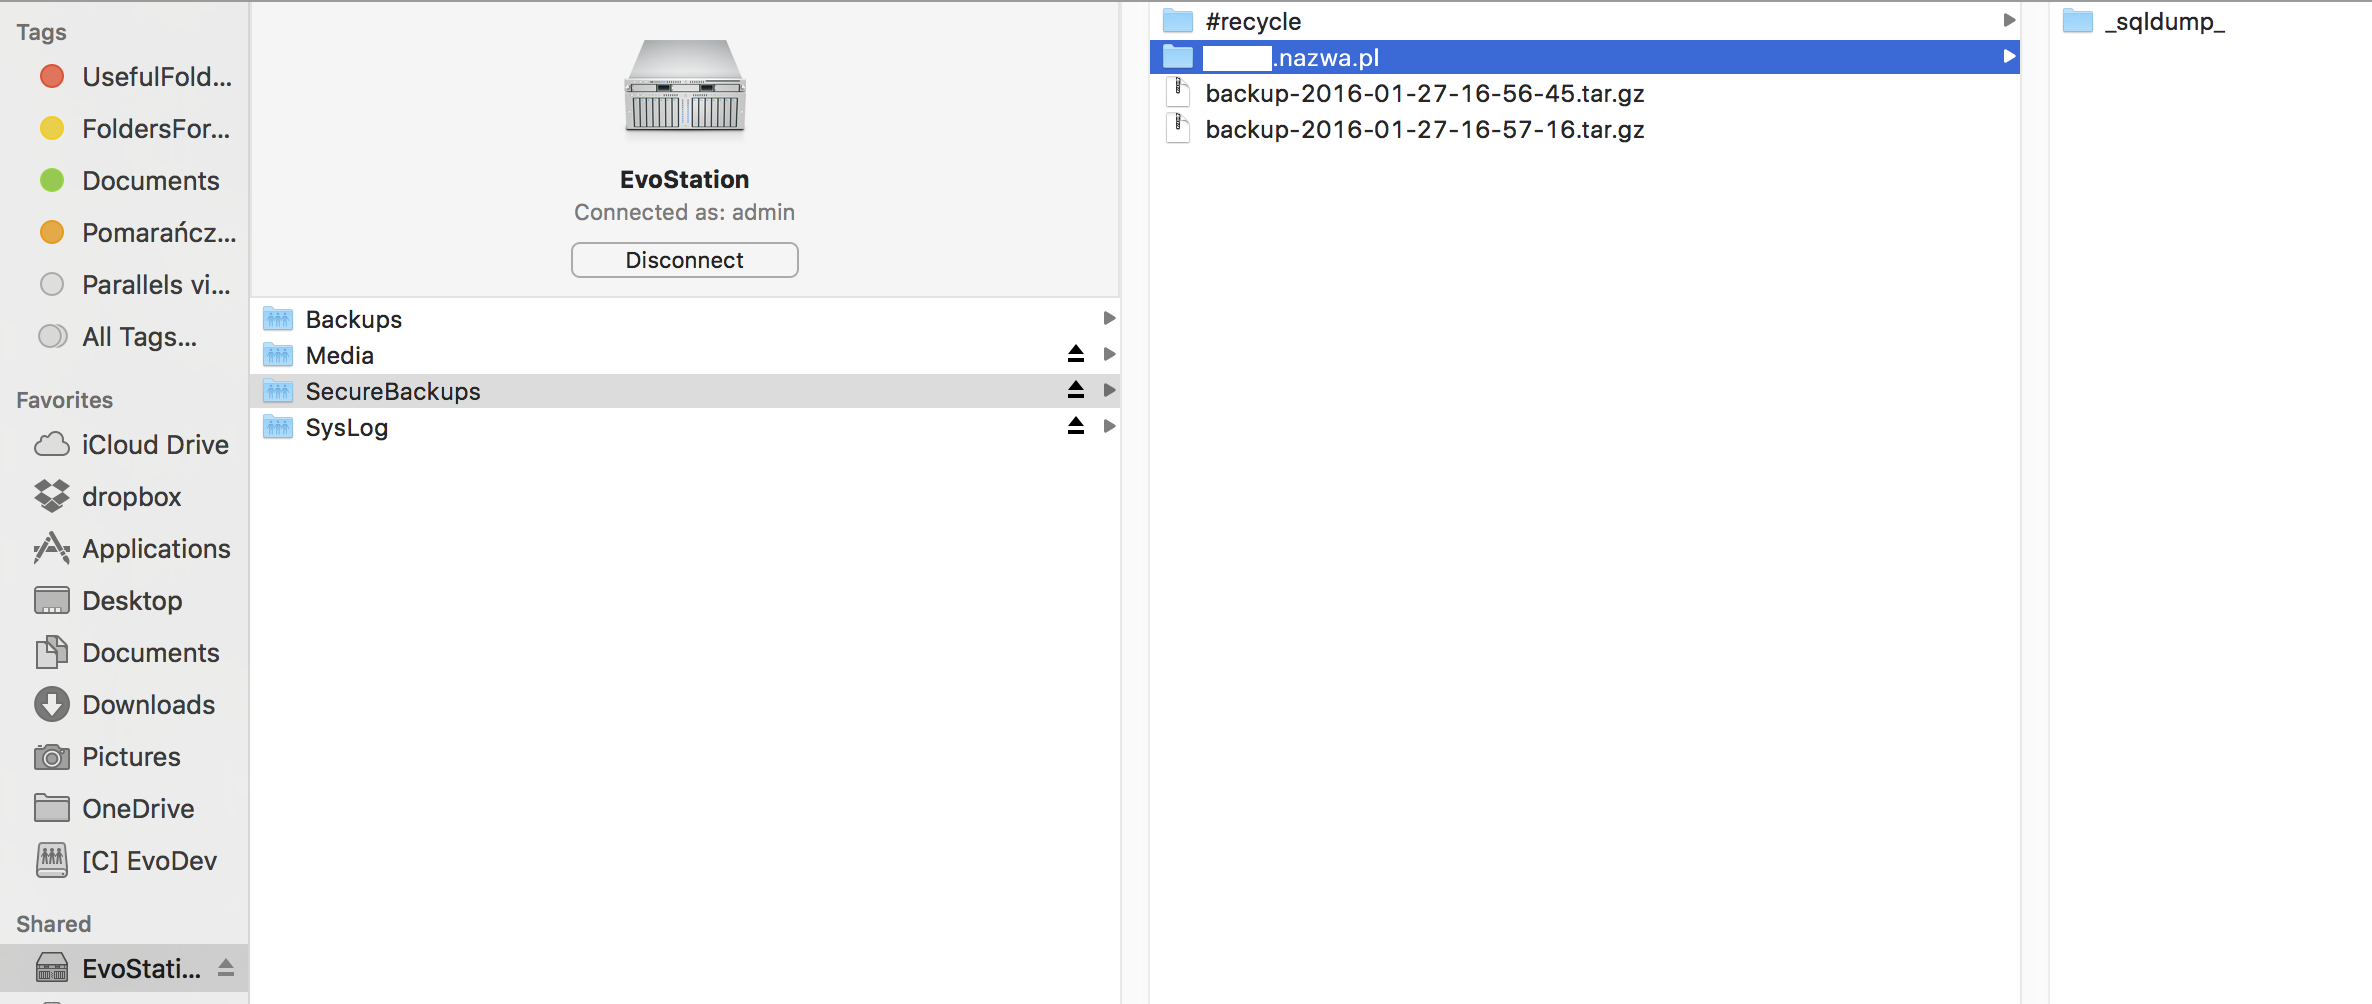
In our case after running a script new folder **.nazwa.pl **(which is hostname of the server we've chosen for backup – in script it's defined as ) is created with proper ftp content. Additionally since we've run the script twice there are 2 backups in form of packed content. Enjoy.