blog
Microsoft Word – How to remove last section break
Working with Microsoft Word sections allows you to create different visual pages in your document without much effort. Adding different headers and footers, different page numbering. All of that is available for everyone by using **Section Breaks. **But sometimes you need to remove section breaks, and doing so is not that easy when it's actually the last Section Break in the document! Fortunately there's a hidden way to do it.
❗ Problem Description
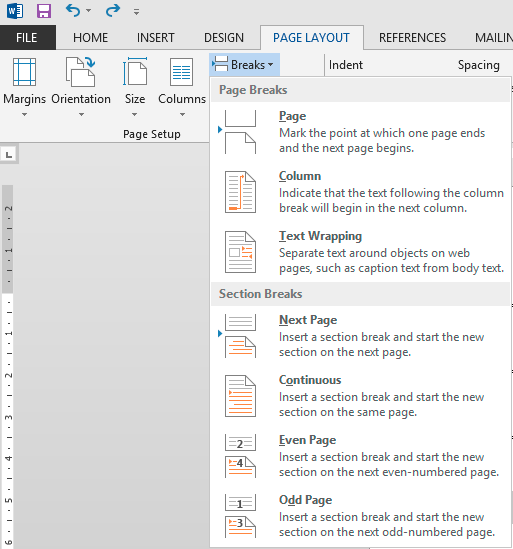
To add a section break to document you simply need to go to Page Layout tab in Microsoft Word and under Page Setup choose Breaks and proper Section Break you would like you insert.
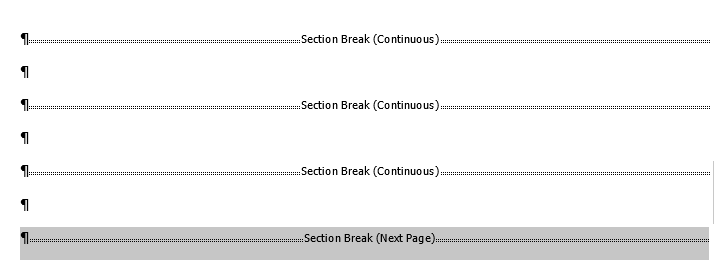
After inserting new section break you can then configure your pages to have different styles and options per each section.Once you add section you may find out it's not needed and you need to remove it to keep the same header, footer, pages numbering and format of the page/paragraph across all the pages in a document. Removing standard Section Break is fairly easy. You can simply remove the section breaks in Word 2013 by putting** mouse cursor** before Section Break and while holding left mouse button going to the end of the Section Break till it's selected.
If you don't see the Section Breaks or other special characters please make sure to enable Show/Hide option under Paragraph section, top right corner.
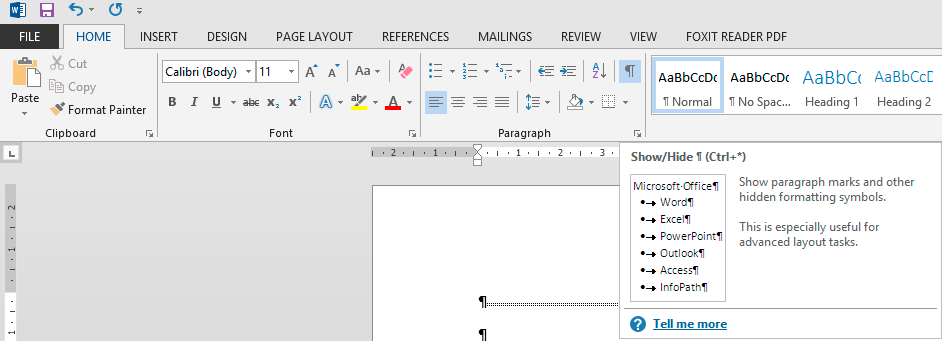
It allows you to see paragraph marks and other hidden formatting symbols. So while this option is good for most of the Section Breaks it actually doesn't work that way for last Section Break in the document.
🛠️ Solution
However what isn't that easy is removing the last section in the document. Fortunately there is workaround you can use it to get rid of it. If you want to get rid of it, you first have to make sure that the section formatting of the final section is identical to that of the preceding one. To do this:
- Go to the very end of the document, and go into the final section‘s header. If it's a continuous section break, you will first need to temporarily create a page break at the end of the document, so that you don't go into the previous section's Header.
- Make sure that both the Header and Footer are set to “Same as Previous”. If they aren't, use the Header/Footer toolbar to set it to this. Then return to the main document.
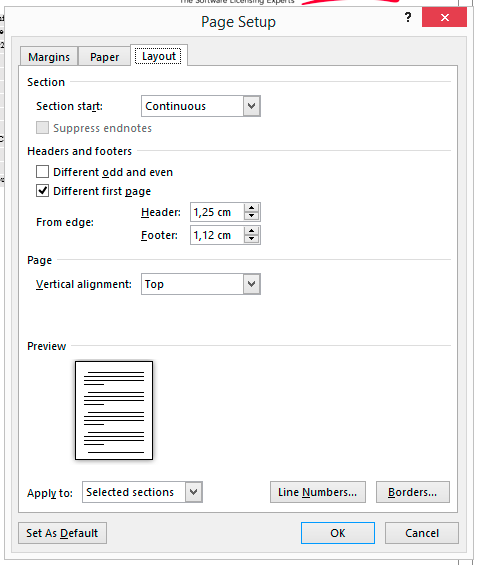
- Go to the penultimate section, select File / Print and then choose **Page Setup **at the bottom of the print properties
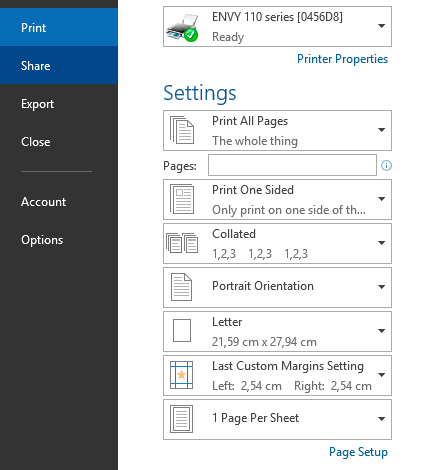
- Make sure to go thru each tab without changing anything and close Page Setup window by pressing OK. (This makes Word “Remember” all the settings in the dialog).
- Now go to the final section and press F4 (an equivalent of repeat last command). This applies the “remembered” settings to the final section.
- If there are differences in the column formatting between the two sections, you'll also need to use the F4 trick with the Format + Columns dialog.
- You can now safely delete the final section break (and the manual page break, if you inserted one).