blog
Getting Verified badge next to your GitHub commits in VS Code
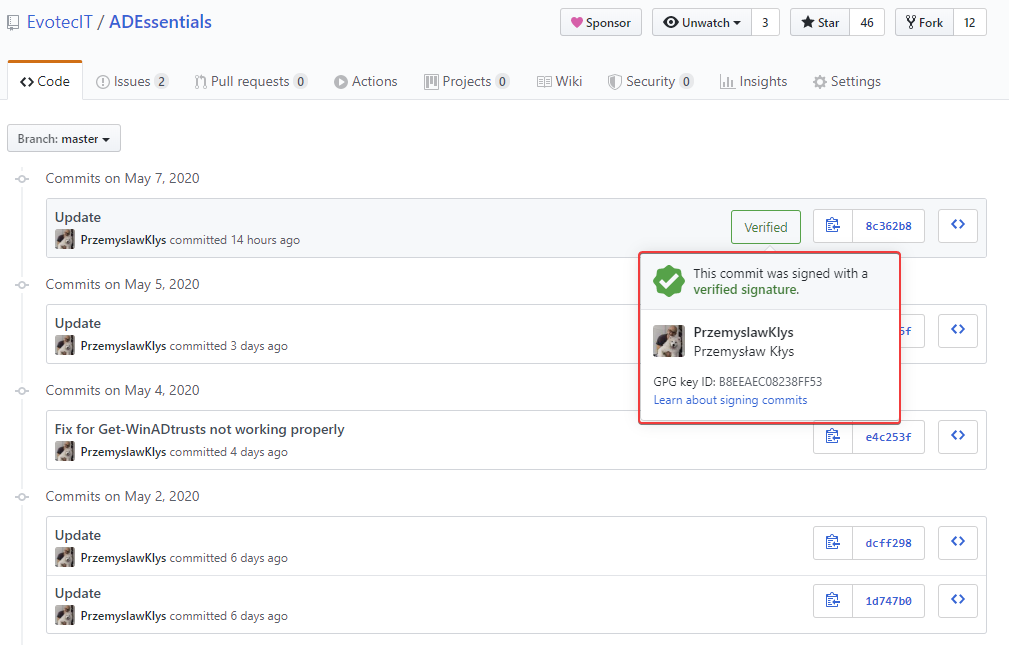
A bit over two years ago, I started posting my PowerShell code as modules on GitHub. Initially, I planned to have them hosted on my website, but few people asked to post it there, and they were right. It would be fairly hard for me to keep my code up to date on my website and, at the same time, let people submit bug reports or help with some PR. It was the right decision! Now that I've worked for over two** years** on GitHub as a daily driver, I wanted to get a new green badge that's shown on GitHub when you edit some code. I don't know if you ever noticed, but if you write any code, text file directly via the GitHub.com webpage, your commits always have Verified badge next to them.
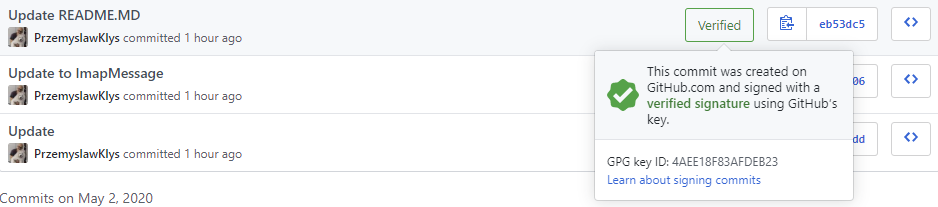
To be able to have a nice Verified badge, any commit we make must be signed with the GPG key. So let's get started.
💡 What's needed to get the GitHub verified badge?
What's needed to get our Verified badge? We need GPG Keys generated, small configuration changes to git configuration, one checkbox in VSCode settings and that's about it. You can check your configuration using a list command with a global switch
git config --list --global
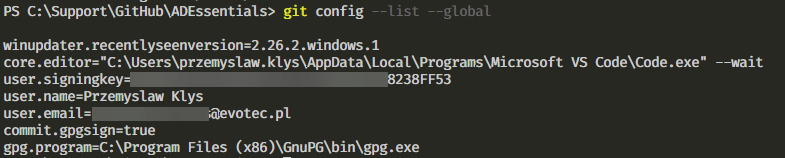
From the list above user.signingkey, user.name,** user.email**, commit.gpgsign, and finally gpg.program need to be set. My recommendation is to set it globally, so you don't have to worry about it from project to project unless you want that type of customization. But before we make our changes, let's get our keys generated.
💡 Installing GPG software to generate keys
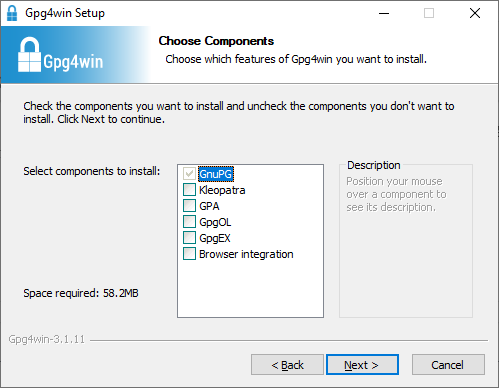
Before we can generate GPG key we need to download GPG software. You can download it from the following page GPG for Windows. Once you have it, when executed we need to choose components to install. Since we only care about git, we don't need all other components.
After installation we need to verify if gpg is available.
gpg --version

gpg (GnuPG) 2.2.19
libgcrypt 1.8.5
Copyright (C) 2019 Free Software Foundation, Inc.
License GPLv3+: GNU GPL version 3 or later
This is free software: you are free to change and redistribute it.
There is NO WARRANTY, to the extent permitted by law.

Home: C:/Users/przemyslaw.klys/AppData/Roaming/gnupg
Supported algorithms:
Pubkey: RSA, ELG, DSA, ECDH, ECDSA, EDDSA
Cipher: IDEA, 3DES, CAST5, BLOWFISH, AES, AES192, AES256, TWOFISH,
        CAMELLIA128, CAMELLIA192, CAMELLIA256
Hash: SHA1, RIPEMD160, SHA256, SHA384, SHA512, SHA224
Compression: Uncompressed, ZIP, ZLIB, BZIP2
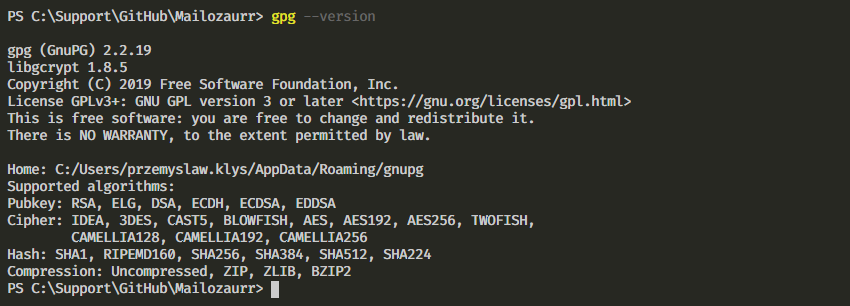
If you get any error while checking the version, please make sure to restart the VSCode session as during installation environment path is updated, and that requires a fresh start.
💡 Creating GPG keys for GitHub
Now that we have GPG software installed and available, we need to generate our GPG keys.
gpg --full-generate-key
Once run, you will get a series of questions. The first question is related to key kind. Choose the default option (1).
gpg (GnuPG) 2.2.19; Copyright (C) 2019 Free Software Foundation, Inc.
This is free software: you are free to change and redistribute it.
There is NO WARRANTY, to the extent permitted by law.

Please select what kind of key you want:
   (1) RSA and RSA (default)
   (2) DSA and Elgamal
   (3) DSA (sign only)
   (4) RSA (sign only)
  (14) Existing key from card
Your selection? 1
The next question is about the key size. While **GPG **offers multiple options, **GitHub **requires a minimum of 4096 bits.
RSA keys may be between 1024 and 4096 bits long.
What keysize do you want? (2048) 4096
Requested keysize is 4096 bits
Next, choose how long the key will be valid. In my case, I wanted it never to expire.
Please specify how long the key should be valid.
         0 = key does not expire
        = key expires in n days
      w = key expires in n weeks
      m = key expires in n months
      y = key expires in n years
Key is valid for? (0) 0
Key does not expire at all
Is this correct? (y/N) y
After confirming that everything above is correct, we now need to set up our identity.
GnuPG needs to construct a user ID to identify your key.

Real name: Przemyslaw Klys
Email address:
Before you go and type in your email address, you need to know that email address choice is essential.

It has to be the real email address that you have verified with GitHub, or if you don't want to share it, you can use the NoReply email address provided to you by GitHub if you enable **Keep my email addresses private **option. To quickly jump to the email address section, simply use this link.
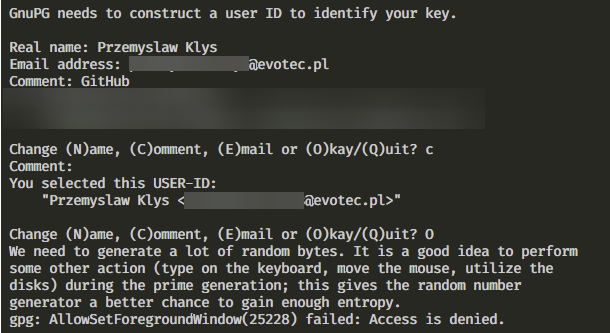
GnuPG needs to construct a user ID to identify your key.

Real name: Przemyslaw Klys
Email address: private.email@evotec.pl
Comment:
You selected this USER-ID:
    "Przemyslaw Klys "

Change (N)ame, (C)omment, (E)mail or (O)kay/(Q)it? O
Once you confirm your choice, you will have to choose a password for your GPG keys. Make sure it's long enough and saved in a safe place.
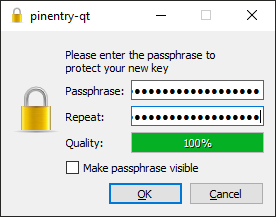
After you've done it, you will get information about your public and **secret **keys generated and stored on your drive.
We need to generate a lot of random bytes. It is a good idea to perform
some other action (type on the keyboard, move the mouse, utilize the
disks) during the prime generation; this gives the random number
generator a better chance to gain enough entropy.
gpg: C:/Users/przemyslaw.klys/AppData/Roaming/gnupg/trustdb.gpg: trustdb created
gpg: key 777SSD77955SD marked as ultimately trusted
gpg: directory 'C:/Users/przemyslaw.klys/AppData/Roaming/gnupg/openpgp-revocs.d' created
gpg: revocation certificate stored as 'C:/Users/przemyslaw.klys/AppData/Roaming/gnupg/openpgp-revocs.d\588DFSDFD66824590285235SSD.rev'
public and secret key created and signed.

pub   rsa4096 2020-05-07 [SC]
      588DFSDFD66824590285235SSD
uid                      Przemyslaw Klys
sub   rsa4096 2020-05-07 [E]

Let's quickly check if everything was generated properly
gpg --list-secret-keys --keyid-format LONG
gpg: checking the trustdb
gpg: marginals needed: 3  completes needed: 1  trust model: pgp
gpg: depth: 0  valid:   1  signed:   0  trust: 0-, 0q, 0n, 0m, 0f, 1u
C:/Users/przemyslaw.klys/AppData/Roaming/gnupg/pubring.kbx
----------------------------------------------------------
sec   rsa4096/B8EEAEC08238FF53 2020-05-07 [SC]
      588DFSDFD66824590285235SSD
uid                 [ultimate] Przemyslaw Klys
ssb   rsa4096/68EC3119AD3D55A4 2020-05-07 [E]

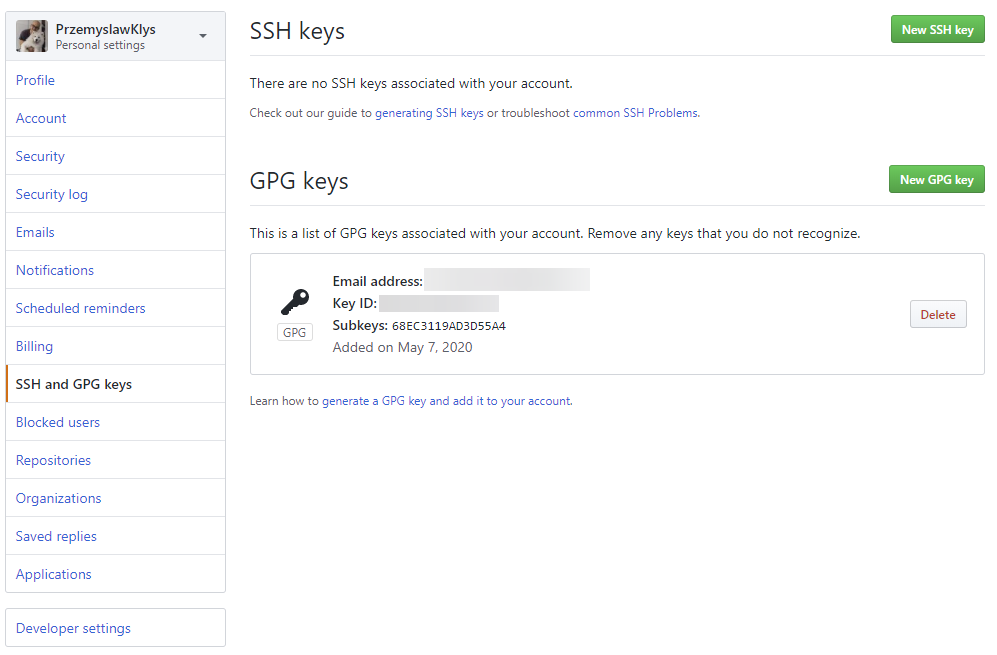
On the next step, we need to export our public GPG key and apply it to GitHub. The command below will display our public key in console, allowing us to use it on GitHub.
gpg --armor --export 588DFSDFD66824590285235SSD
-----BEGIN PGP PUBLIC KEY BLOCK-----
mQINBF60ewsBEACbaZJx5H42fNeo7Udnl2saihnYqrp+NTuiDMQX5GkkdhMOugr7
ZRcuUrf0ouvfp/47PqUGCLoLA4VRyiGqzwIJMKfqkcfH0gzcVzowQZVutzaLlv5z
-----END PGP PUBLIC KEY BLOCK-----
Entering keys can be done by following GitHub, Settings, Keys link.
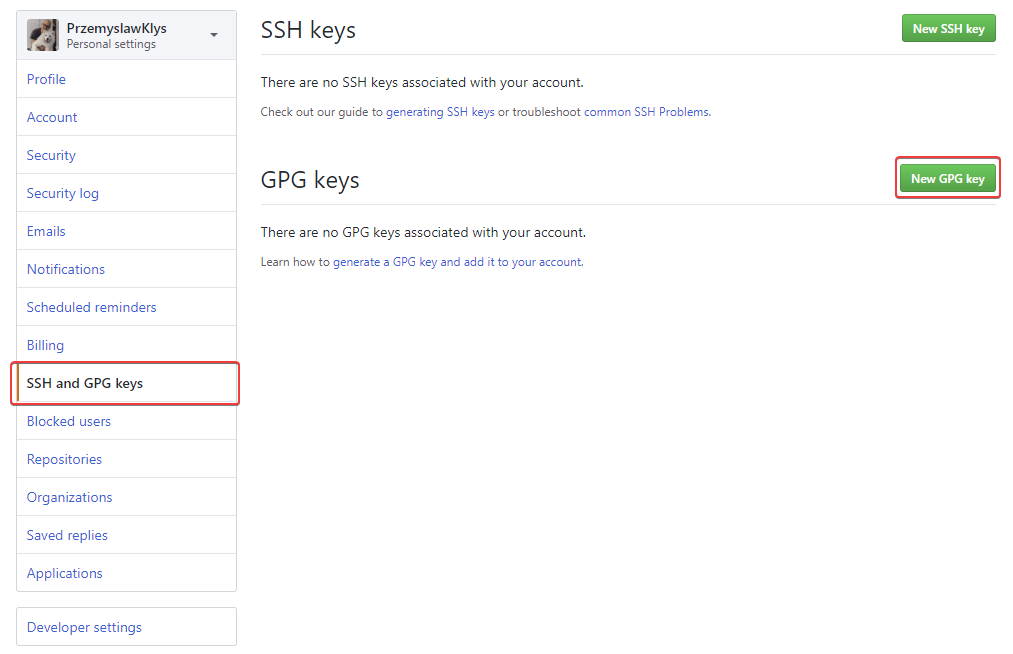
Keep in mind that you need to paste full key including BEGIN and END part.
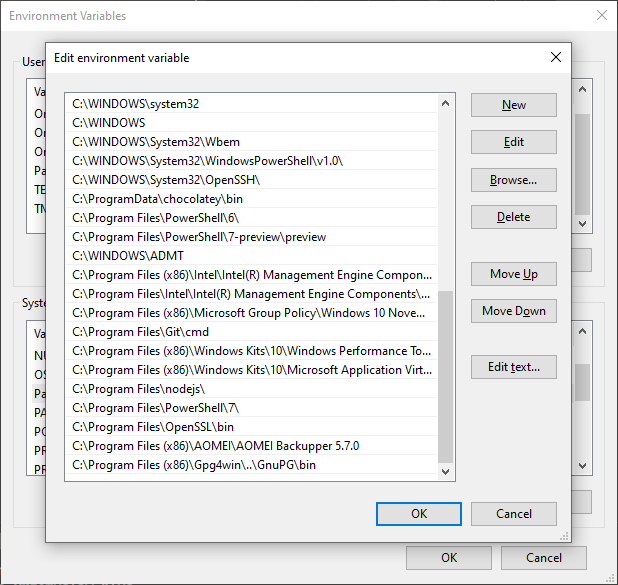
Now we need to configure git. Notice that your installation path may be different and that I'm setting it as global values since I want to use it in every project.
git config --global user.signingkey 588DFSDFD66824590285235SSD
git config --global commit.gpgsign true
git config --global gpg.program "C:\Program Files (x86)\GnuPG\bin\gpg.exe"
💡 Configuring GIT – username and email
If you have never set your username and **email **for git, this may be required now.
git config --global user.name "Przemyslaw Klys"
git config --global user.email private.email@evotec.pl
If you don't do this, you may get an error
Make sure you configure your ‘user.name' and ‘user.email' in git.
It's a simple fix, as described above.

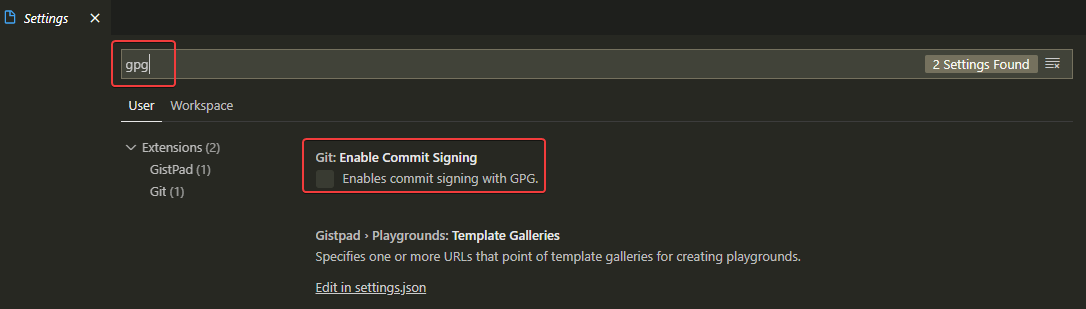
💡 Enabling commit signing in VS Code
Finally one of the last steps is to make sure the VS Code is configured to sign all our commits!
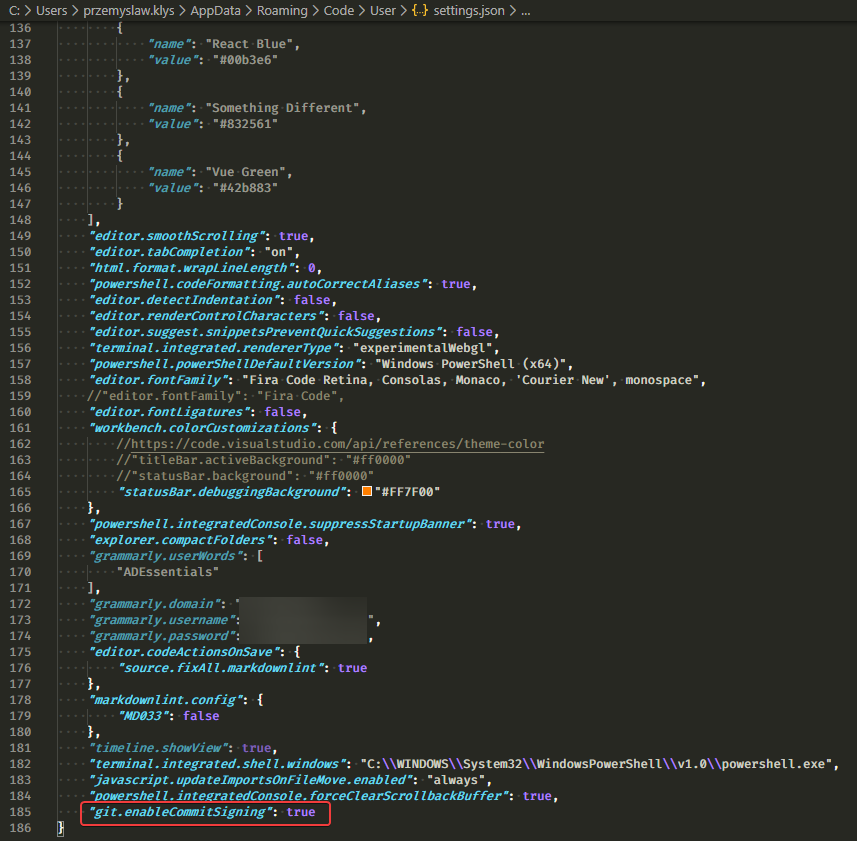
This step is equivalent to doing it manually via config file
"git.enableCommitSigning": true
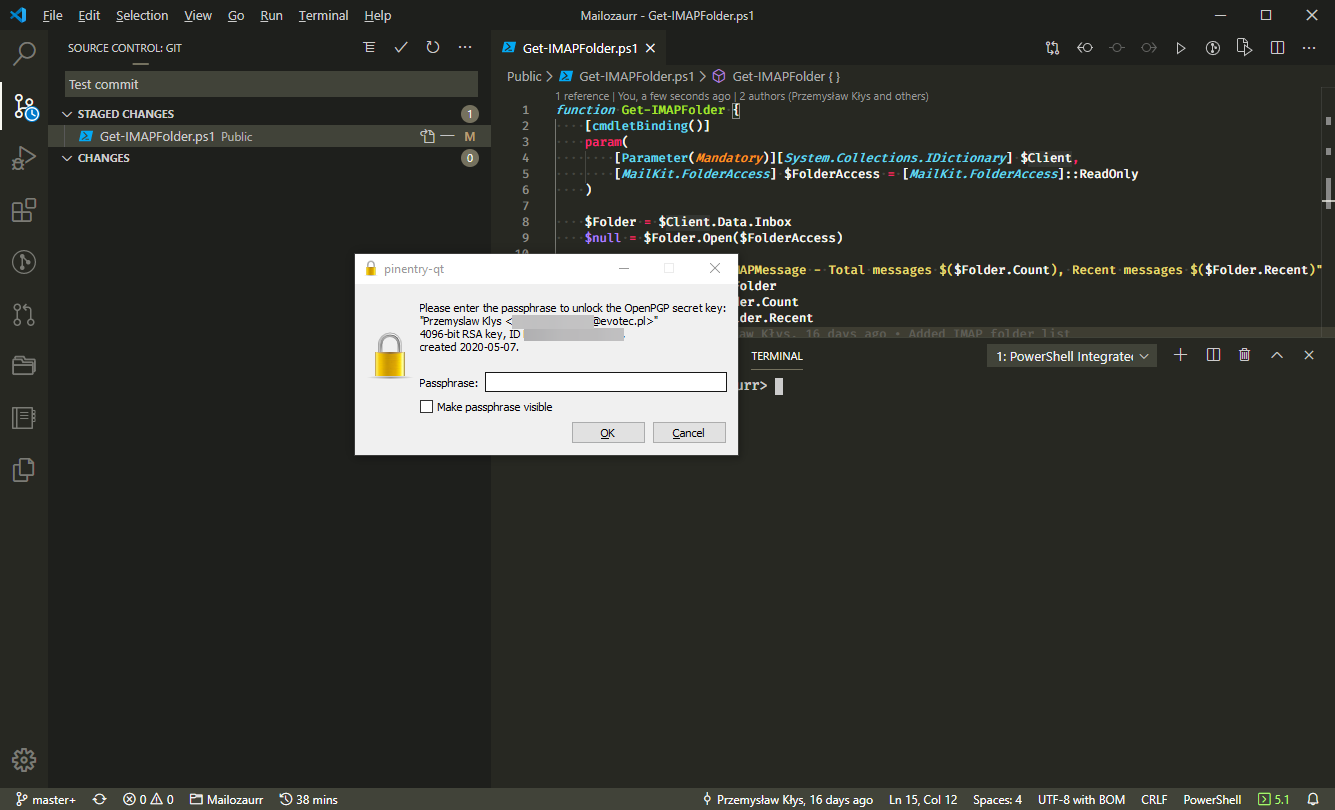
💡 Testing Verified commits functionality
All that is left now is simply create a commit, push it, type our password for GPG key, and enjoy your new verified commits!
💡 GPG password Time To Live
Now that you have GPG, you may have noticed that after a while, GPG keeps on prompting you for a password every couple of commits. By default, GPG remembers passwords for 10 minutes. If you don't like that prompt every few minutes you can configure it to a different value.
Set-Content -Path "$env:AppData\gnupg\gpg-agent.conf" -Value "default-cache-ttl 34560000$([System.Environment]::NewLine)max-cache-ttl 34560000"
gpgconf.exe --reload gpg-agent
gpgconf.exe --list-options gpg-agent
Remember to change 34560000 to a different value that matches your requirements. This amount of seconds gives you 400 days of passwords cache. Not a secure solution!