blog
Preparing Azure App Registrations permissions for Office 365 Service Health
As you may have seen in my other post, there's a simple, PowerShell way to get Office 365 Health Service data for you to use any way you like it. But before you can use that, you need to register granular permissions on your Office 365 tenant so that that data is provided to you. Here's a step by step way to do it. Of course, this little guide can be used to get permissions for another type of data for your application from Office 365. Use with caution!
💡 Step by step – Preparing Azure App Registations
- Login to **https://portal.azure.com**
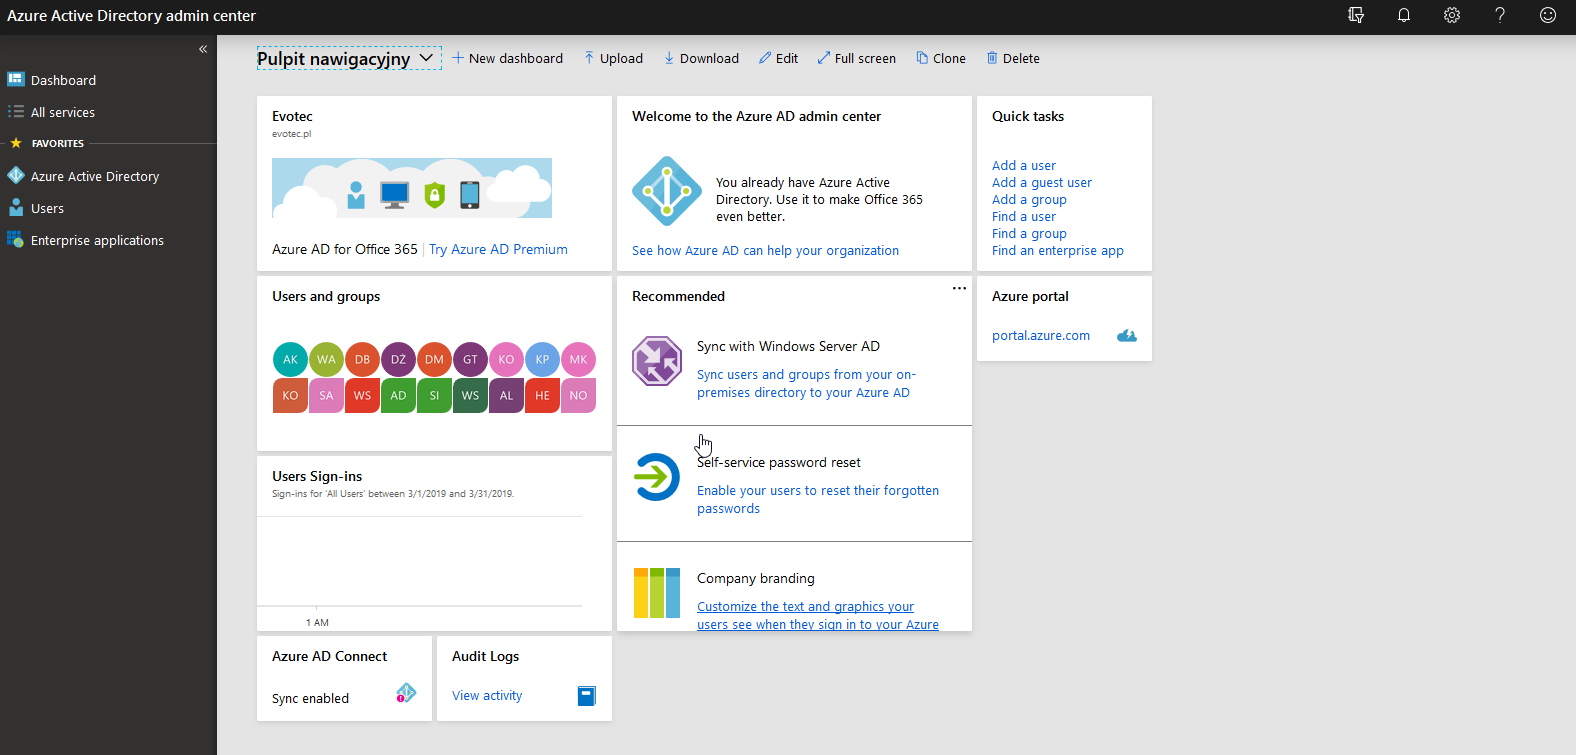
- Open Azure Active Directory on the left side.
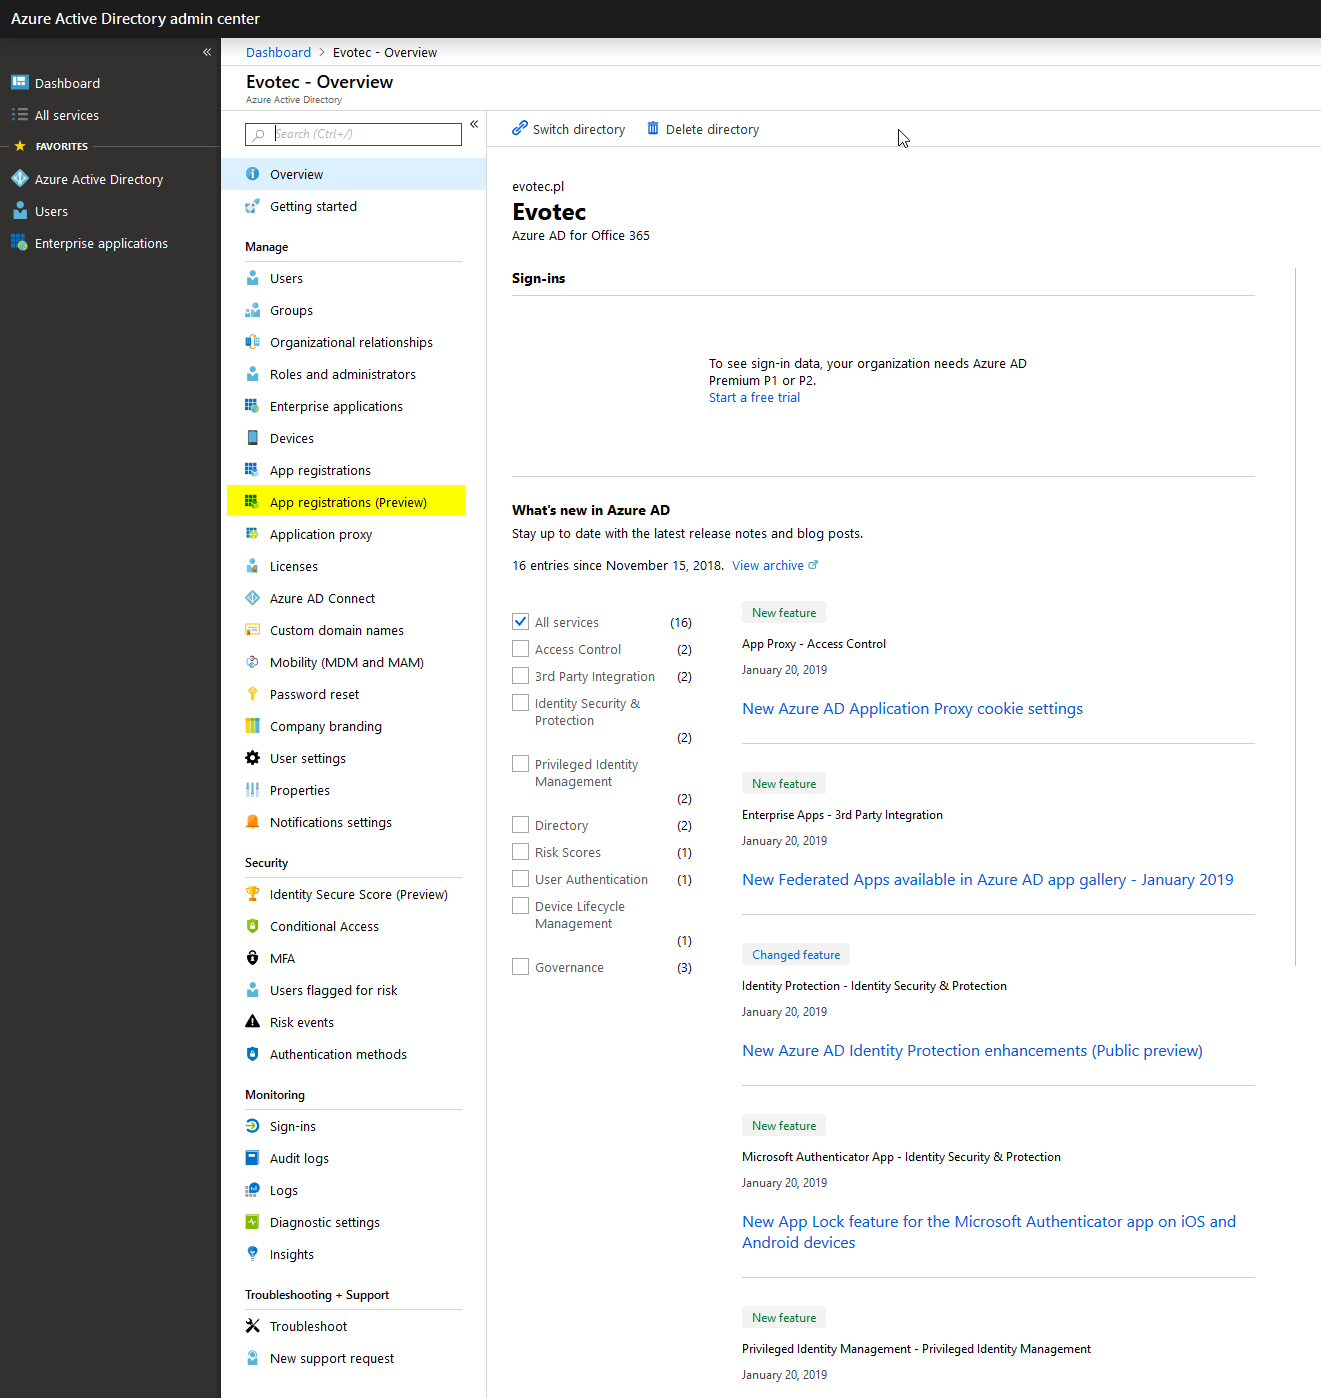
- On the long list on the left side find App registrations (Preview)
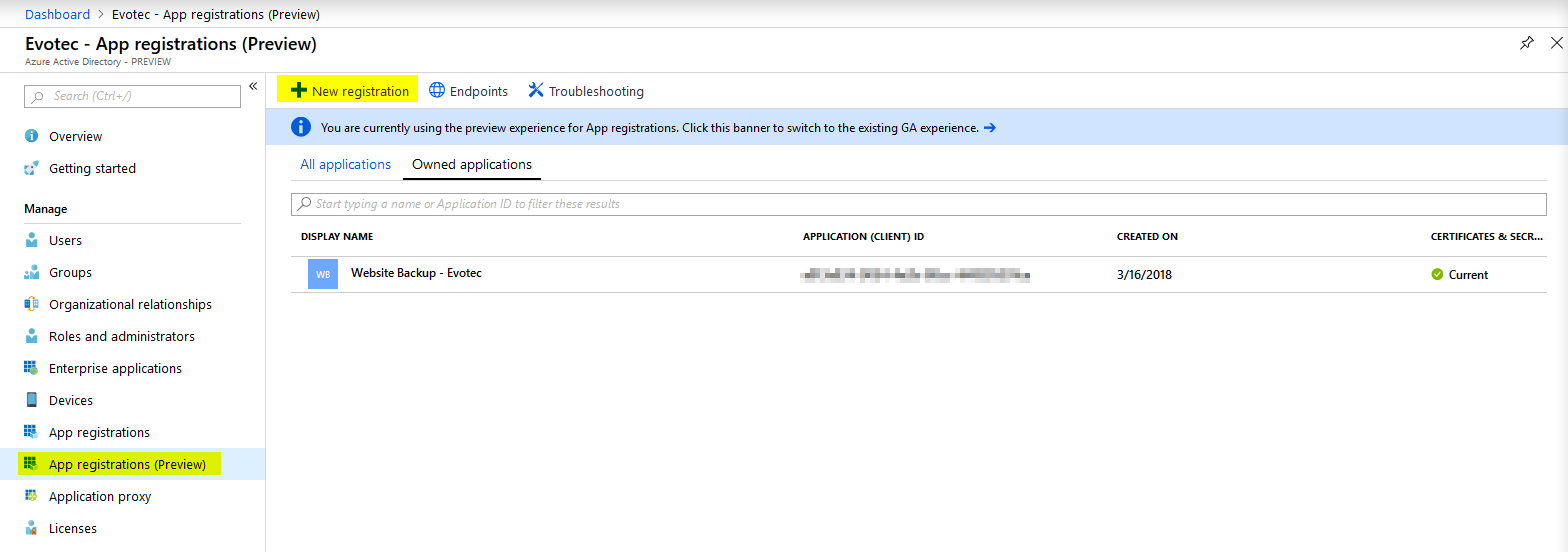
- Choose New registration on next screen
- Type in a name for your application. In my case I only wanted my claim to have limited permissions, but in case you plan to use the same App for gathering data from other places feel free to name it appropriately.
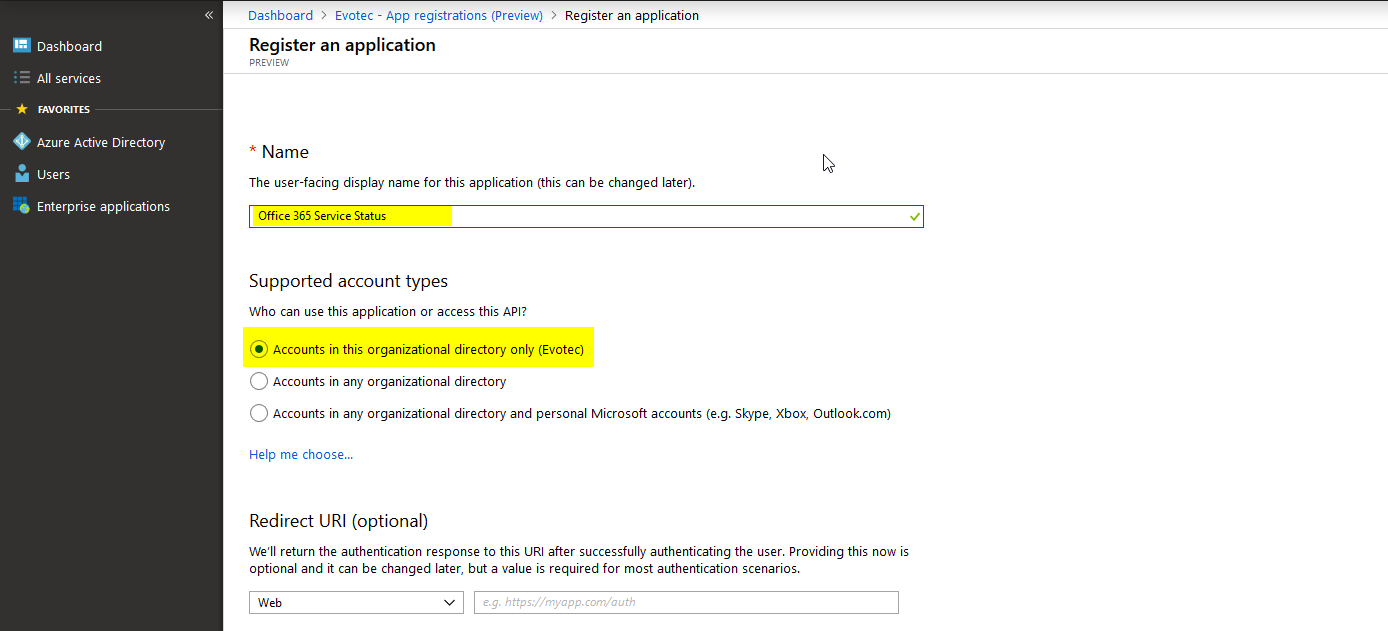
- Click register on the bottom of the page (notice it's not on the screenshot).
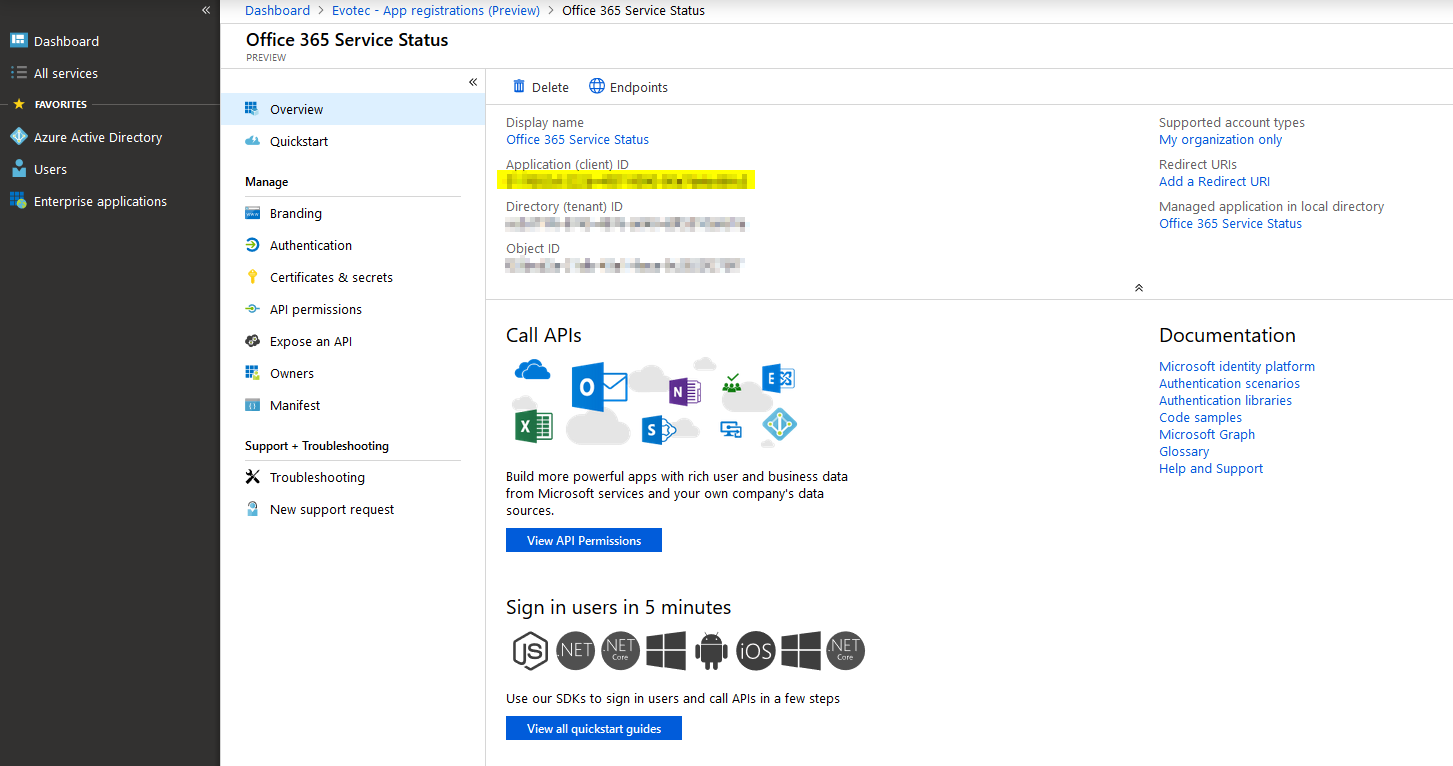
- When you confirm, your application will be created, and you will be given ApplicationID. At this time it's also worth noting Directory (tentant) ID. DirectoryID can be used as a replacement for Tenant Domain. Next, you have to choose API permissions that you want to be delegated to that application. In my case, I pressed Add permission and got a list of all possible API's that are available for you. In this case, we need to choose Office 365 Management APIs.

- On the next screen, we choose Application permissions. After all, we want this to be running without any binding to a user.

- Find ServiceHealth.Read API, and use Add permissions that are available at the bottom.
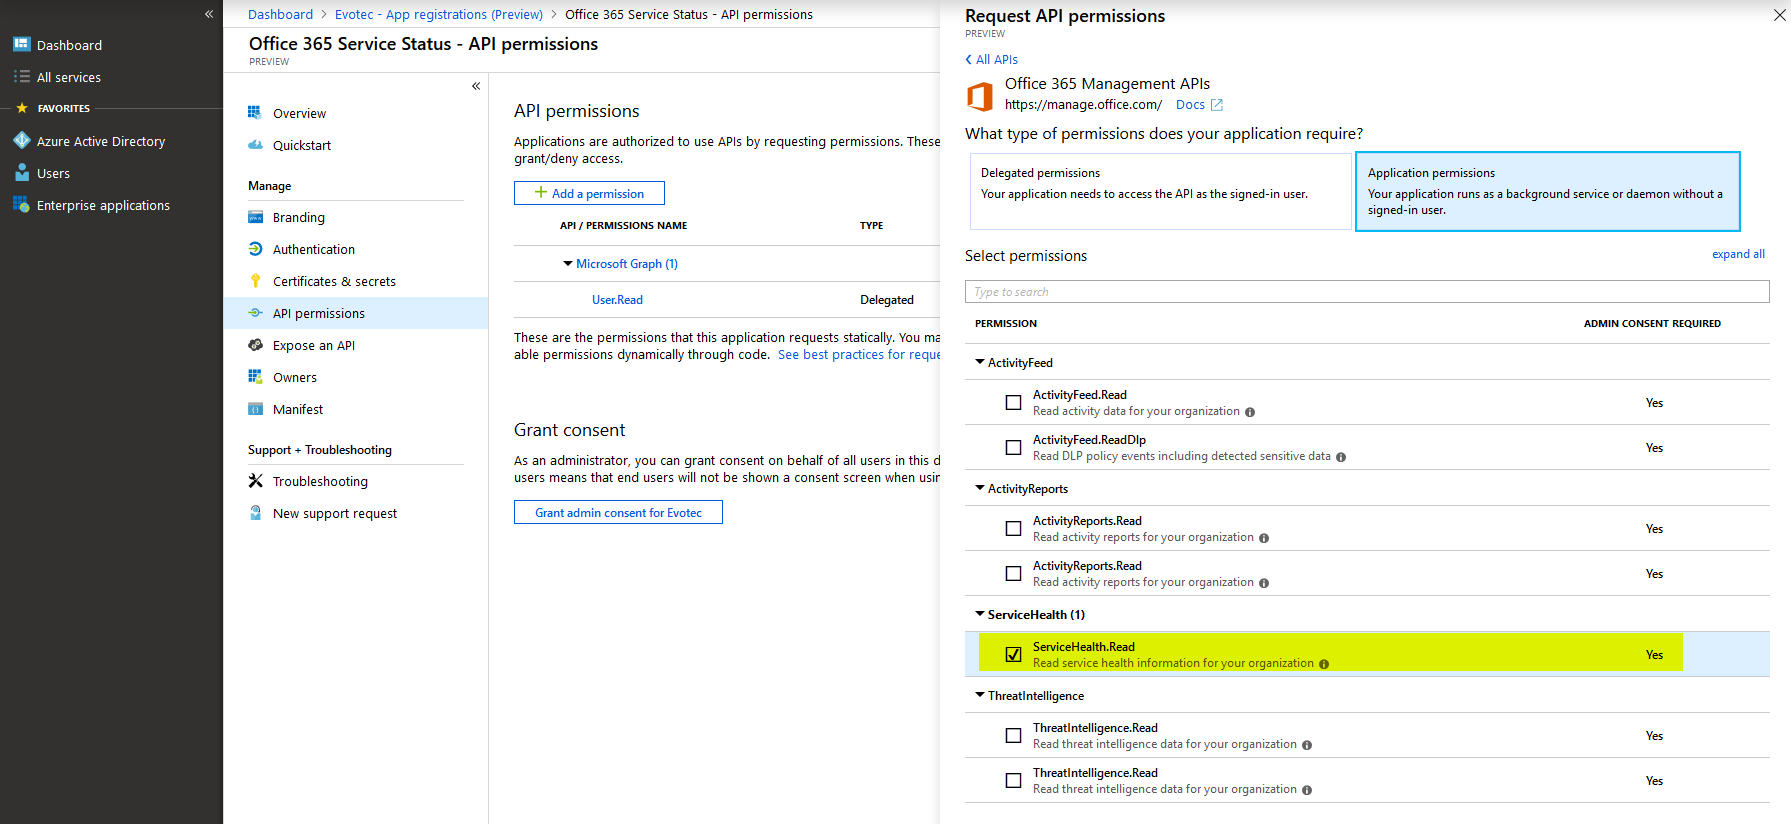
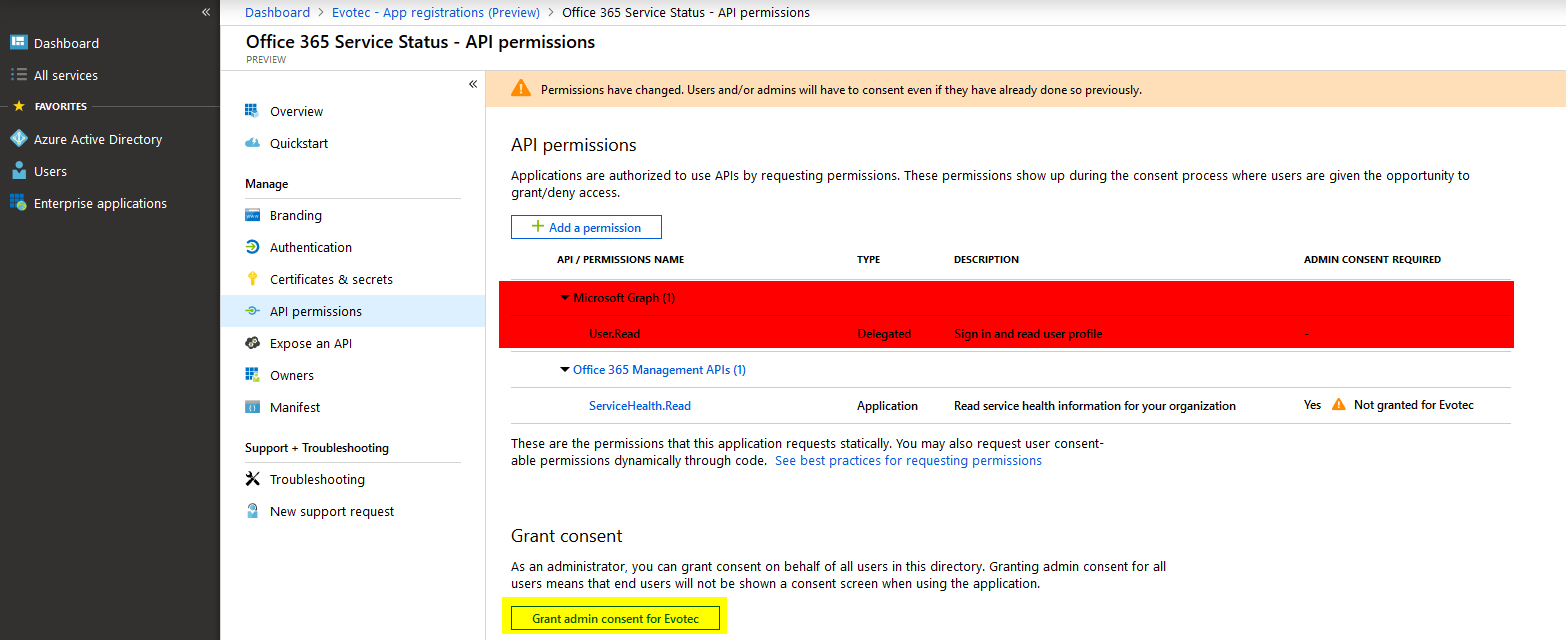
- Find ServiceHealth.Read API, and use Add permissions that are available at the bottom. Now that we have added permissions we need to do two things. Remove unnecessary permissions from our application and Grant admin content for Tenant.
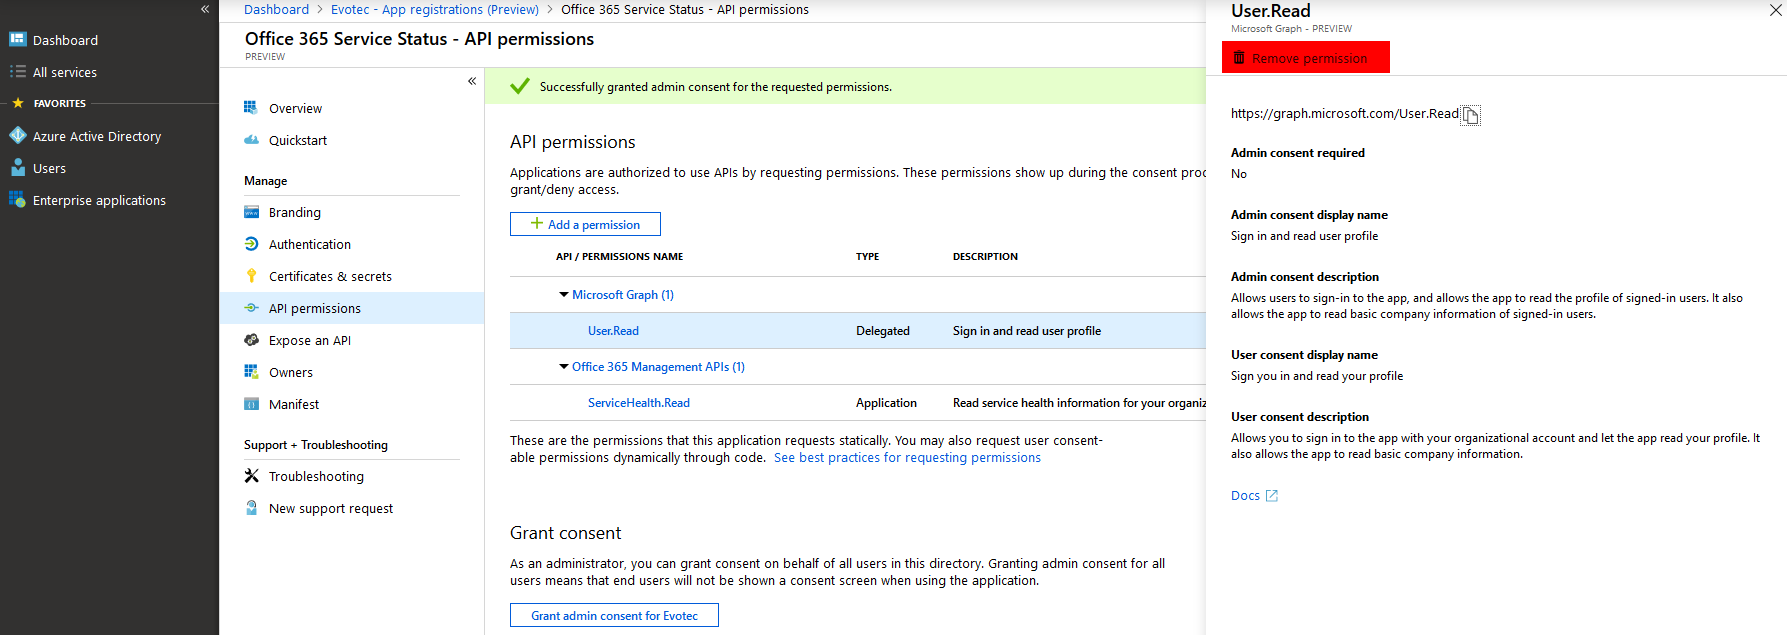
- You will be prompted to confirm your choice

- Of course, if you want your Application to do more, feel free to add more permissions as required. The best practice here is to give an app only permissions it needs and nothing more.
- The last step on the list is to get Application Key. This can be done in Certificate & Secrets section on the left side.
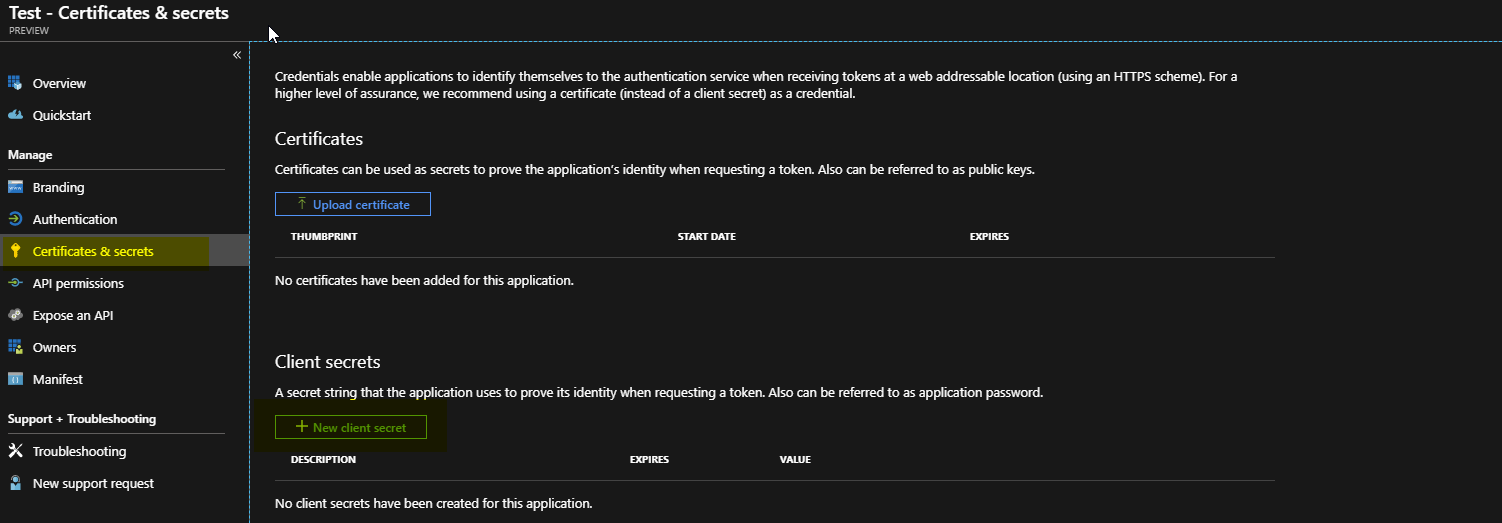
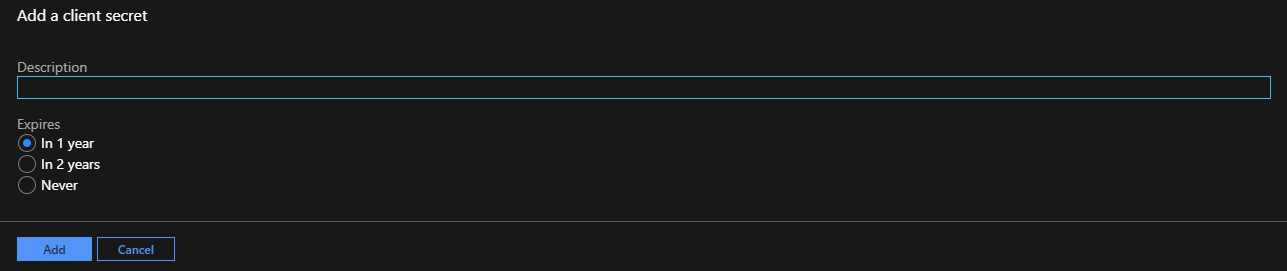
- Choose **New client secret, **type your key description and choose the time for how long the key will be vali
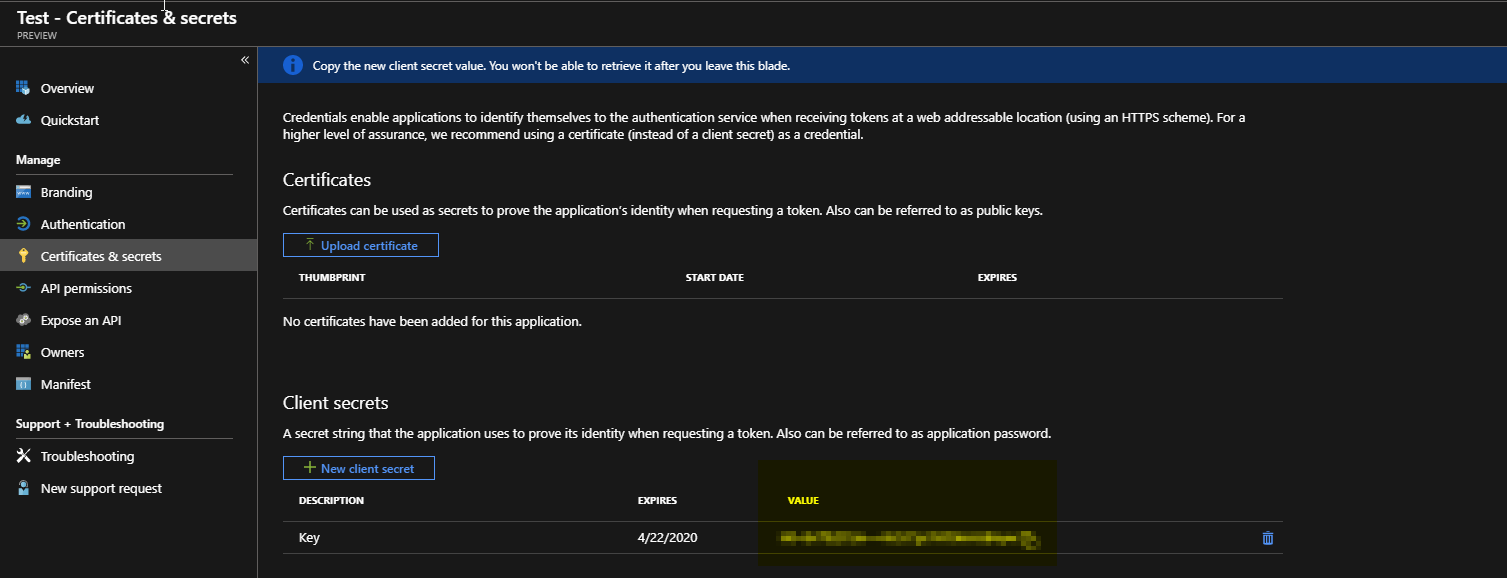
- Finally, copy Application Key (Secret Key). If you browse away from this place, the key will no longer be available. Make sure to copy it somewhere safe.
Now that you know how to generate Application ID and Application Key and DirectoryID feel free to find out how you can get Office 365 Health Service data with PowerShell.