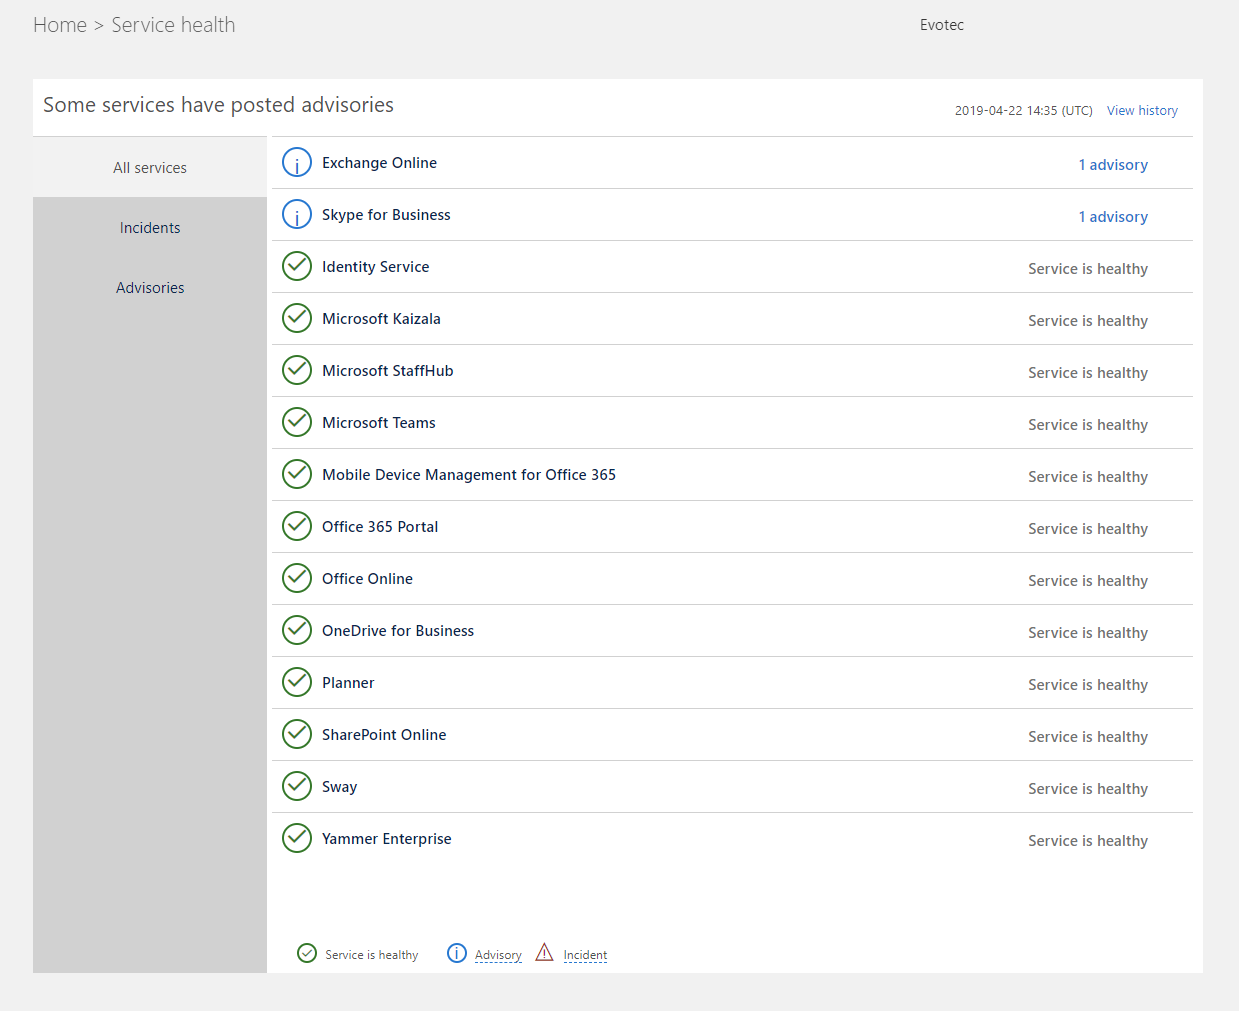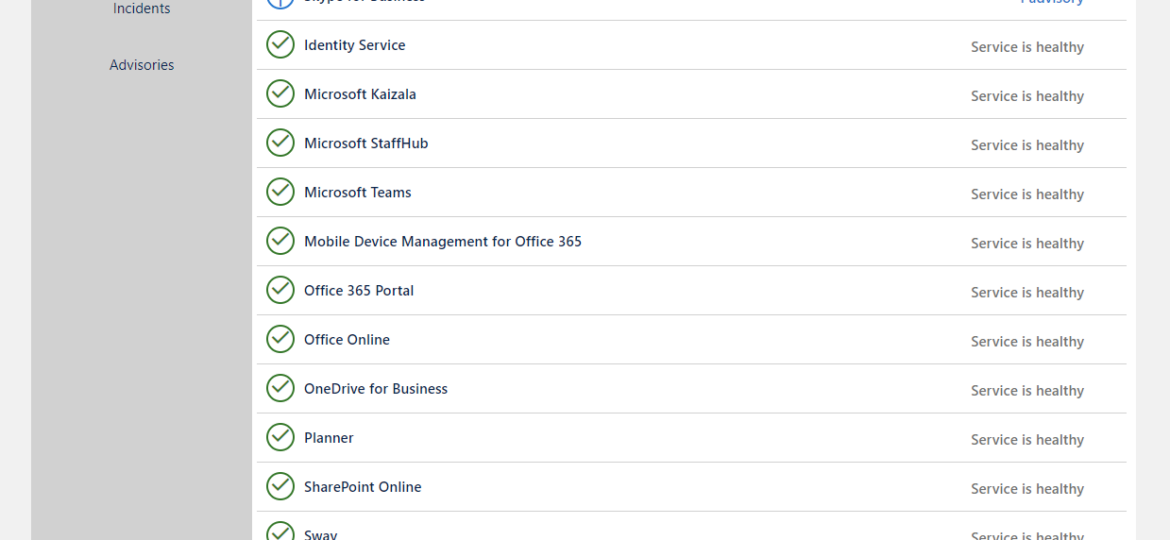
Office 365 is an excellent cloud service. But like any service, there's some infrastructure behind it that has to be cared for. Since this is Cloud, Microsoft does this for you. But any problems Microsoft has to have some impact on your end users. And you may want to have that visibility for your users. Microsoft provides this to Admins when they login to the portal, but while useful you may want to use that data in other ways than those planned by Microsoft.
💡 PSWinDocumentation.O365HealthService – PowerShell Module
And Microsoft does allow you to take that data via PowerShell. It's not as simple as it looks, but I've taken some time to prepare all that data for you, in easy to digest way. This data is published as part of PSWinDocumentation.O365HealthService module. The name of the module is not new. I've started dividing PSWinDocumentation module into smaller modules that can live independently from the main module. It will take a while to convert PSWinDocumentation into what I envision it to be, but it will get there, eventually. This module has a single PowerShell command.
Import-Module PSWinDocumentation.O365HealthService -Force

# You can get ApplicationID/Key using Step-By-Step instructions from this link
# http://evotec.xyz/preparing-azure-app-registrations-permissions-for-office-365-health-service

$ApplicationID = ''
$ApplicationKey = ''
$TenantDomain = 'evotec.pl' # Alternatively one can you DirectoryID if tenant domain fails

$O365 = Get-Office365Health -ApplicationID $ApplicationID -ApplicationKey $ApplicationKey -TenantDomain $TenantDomain
$O365
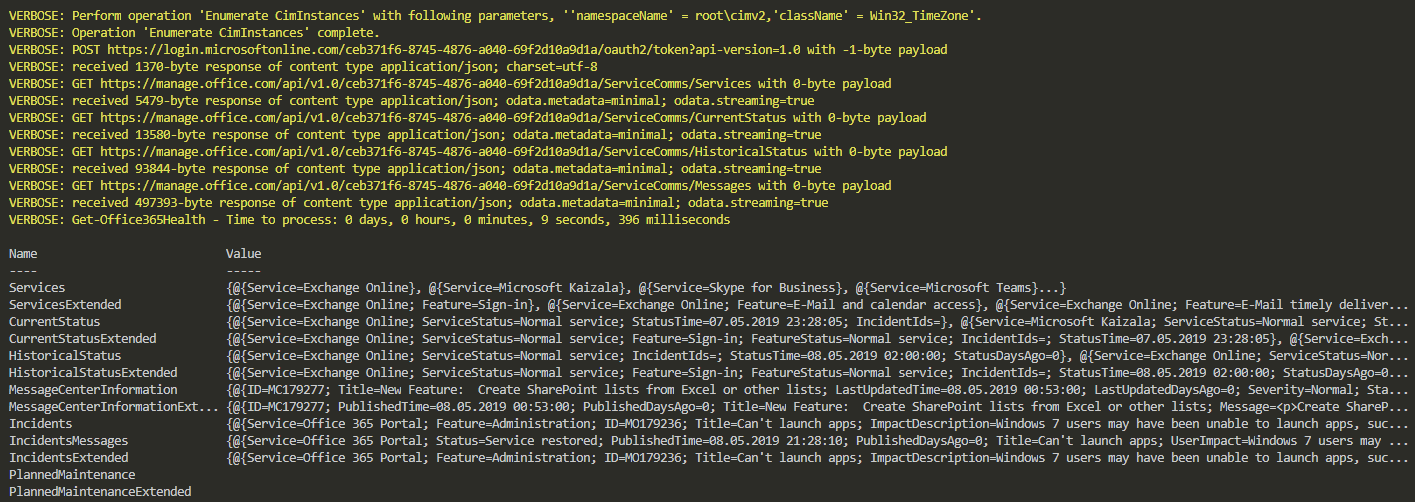
Unfortunately due to some post-processing that I've applied it takes about 10 seconds to get all the data from Office 365. But what you get is a Custom HashTable, as you can see below.
While at first sight, it may seem like gibberish and not useful to use, well it is. You're supposed to use it like below, picking what you want to see precisely.
$O365 = Get-Office365Health -ApplicationID $ApplicationID -ApplicationKey $ApplicationKey -TenantDomain $TenantDomain -ToLocalTime -Verbose
$O365.CurrentStatus | Format-Table -AutoSize
$O365 = Get-Office365Health -ApplicationID $ApplicationID -ApplicationKey $ApplicationKey -TenantDomain $TenantDomain -ToLocalTime -Verbose
$O365.CurrentStatusExtended | Format-Table -AutoSize
A bit more useful right? For every type of data, there is a simplified version and extended version.
$O365 = Get-Office365Health -ApplicationID $ApplicationID -ApplicationKey $ApplicationKey -TenantDomain $TenantDomain
$O365.IncidentsMessages | Format-Table -AutoSize
💡 Showing full output of PSWinDocumentation.O365HealthService with Dashimo
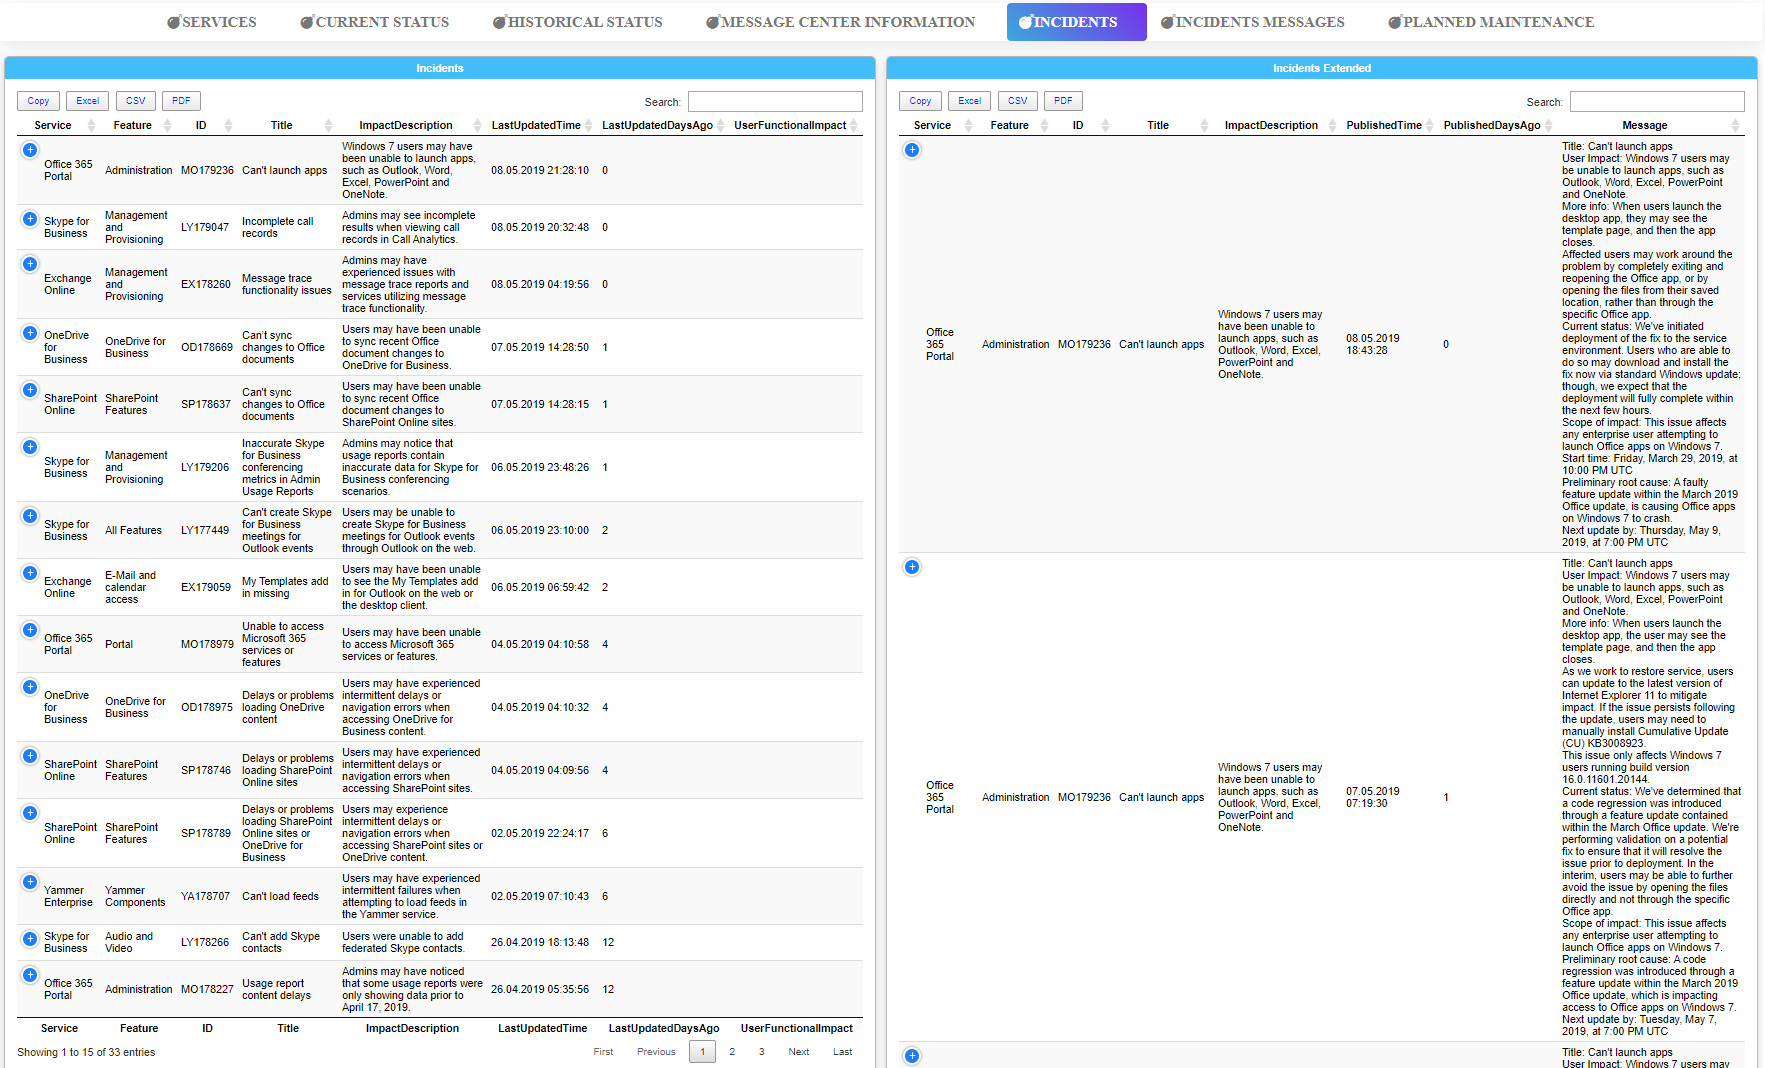
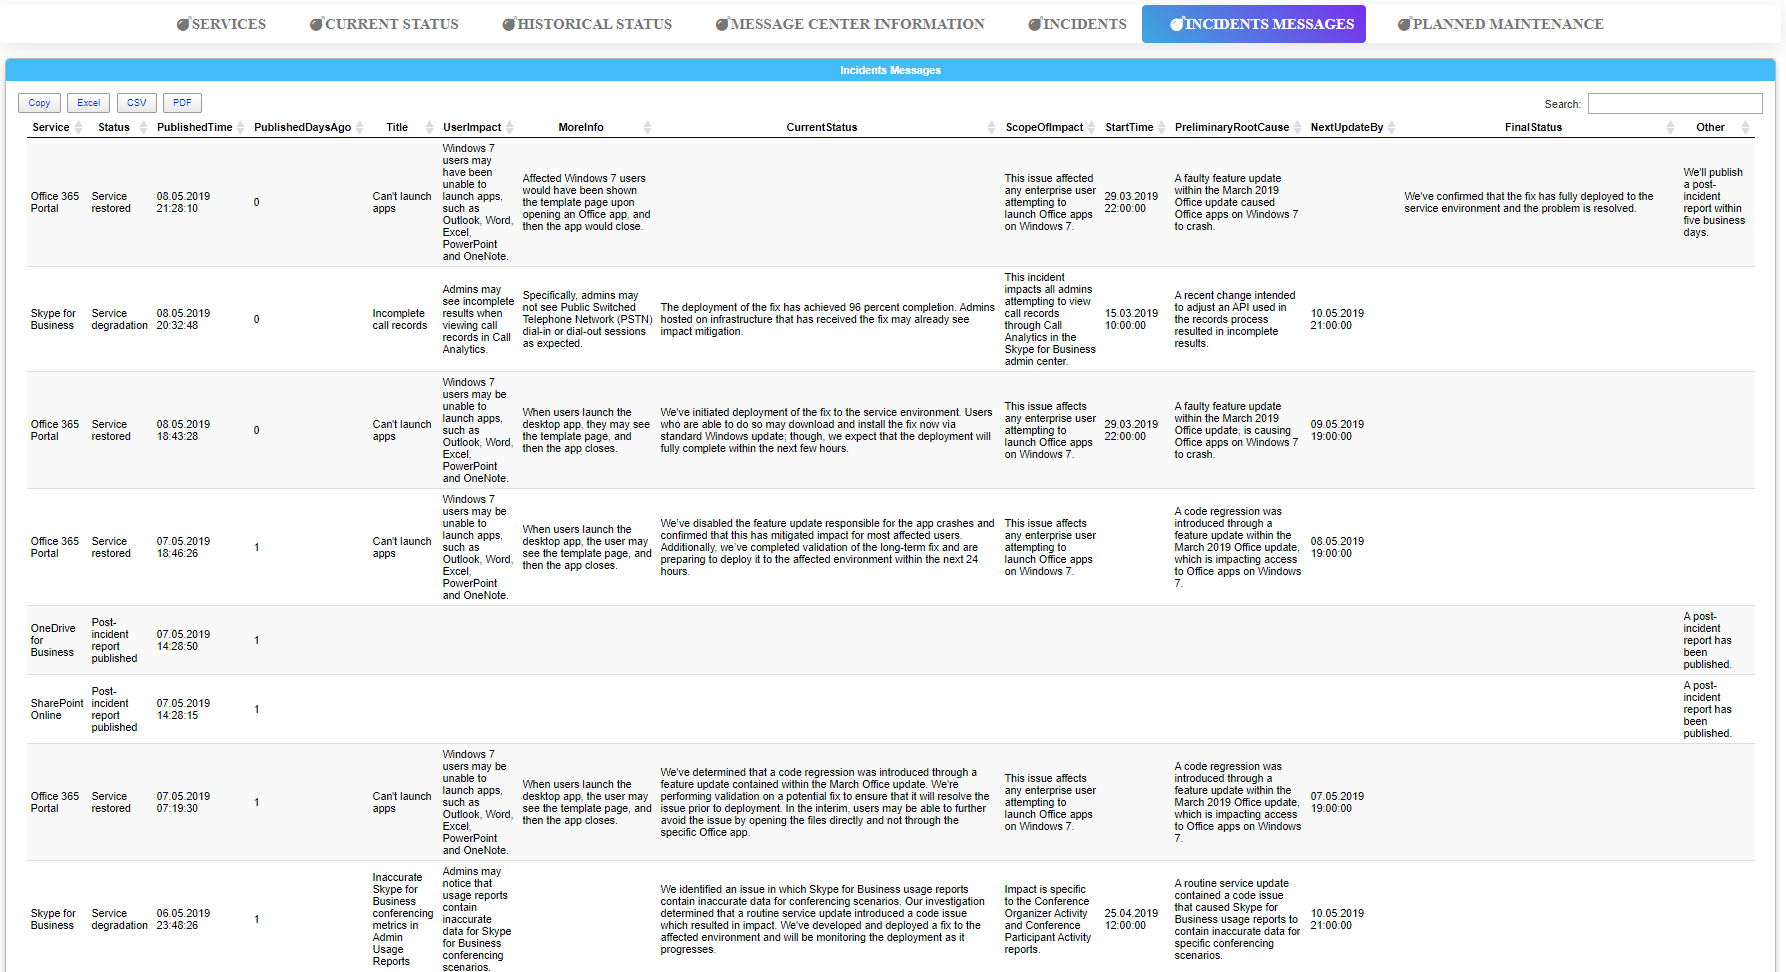
As you could see some examples above, it really delivers the data in an easy, intuitive way. But if you would like to get all that data quickly, to see what it holds, you can use Dashimo. Below you can find some screenshots but I've also uploaded the HTML file that Dashimo generated (it's a single, static file that can be hosted anywhere). Feel free to browse for a dynamic version of Dashimo and PSWinDocumentation.O365HealthService.
Below you can find a code that generates this HTML file on demand. Easy right? If you want to read more about Dashimo feel free to browse the very first article about it.
Import-Module PSWinDocumentation.O365HealthService -Force
Import-Module Dashimo -Force

$ApplicationID = ''
$ApplicationKey = ''
$TenantDomain = 'evotec.pl' # CustomDomain (onmicrosoft.com won't work), alternatively you can use DirectoryID

$O365 = Get-Office365Health -ApplicationID $ApplicationID -ApplicationKey $ApplicationKey -TenantDomain $TenantDomain -ToLocalTime -Verbose

Dashboard -FilePath $PSScriptRoot\Health.html {
    Tab -Name 'Services' {
        Section -Invisible {
            Section -Name 'Service List' {
                Table -DataTable $O365.Services
            }
            Section -Name 'Service & Feature List' {
                Table -DataTable $O365.ServicesExtended
            }
        }
    }
    Tab -Name 'Current Status' {
        Section -Invisible {
            Section -Name 'Current Status' {
                Table -DataTable $O365.CurrentStatus
            }
            Section -Name 'Current Status Extended' {
                Table -DataTable $O365.CurrentStatusExtended
            }
        }
    }
    Tab -Name 'Historical Status' {
        Section -Invisible {
            Section -Name 'Historical Status' {
                Table -DataTable $O365.HistoricalStatus
            }
            Section -Name 'Historical Status Extended' {
                Table -DataTable $O365.HistoricalStatusExtended
            }
        }
    }
    Tab -Name 'Message Center Information' {
        Section -Invisible {
            Section -Name 'Message Center' {
                Table -DataTable $O365.MessageCenterInformation
            }
            Section -Name 'Message Center Extended' {
                Table -DataTable $O365.MessageCenterInformationExtended -InvokeHTMLTags
            }
        }
    }
    Tab -Name 'Incidents' {
        Section -Invisible {
            Section -Name 'Incidents' {
                Table -DataTable $O365.Incidents
            }
            Section -Name 'Incidents Extended' {
                Table -DataTable $O365.IncidentsExtended
            }
        }
    }
    Tab -Name 'Incidents Messages' {
        Section -Invisible {
            Section -Name 'Incidents Messages' {
                Table -DataTable $O365.IncidentsMessages
            }
        }
    }
    Tab -Name 'Planned Maintenance' {
        Section -Invisible {
            Section {
                Table -DataTable $O365.PlannedMaintenance
            }
            Section {
                Table -DataTable $O365.PlannedMaintenanceExtended
            }
        }
    }
}
As with all my modules sources are available at Github. Feel free to open issues/PR's or just Star the project if you like my work. If you wonder how you can get Application ID, Application Key and Directory ID, here's a Step by Step Tutorial.
💡 PSWinDocumentation.O365HealthService – How do you install it?
This is how you install it.
Install-Module -Name PSWinDocumentation.O365HealthService -Force
That's it. Notice how I'm using Force. I use force because it actually redownloads PSWinDocumentation.O365Health but also any required modules. You see when I update PSWinDocumentation.O365HealthService, I often update other modules like PSSharedGoods. When you do Update-Module it won't auto-update required modules. Also if I will decide to split PSSharedGoods into smaller modules and change something about it Update-Module will also ignore this. That's why I prefer using Force switch and be prepared! You, of course, should use it the way you want to!

